
Photographing Australian
RAINFOREST
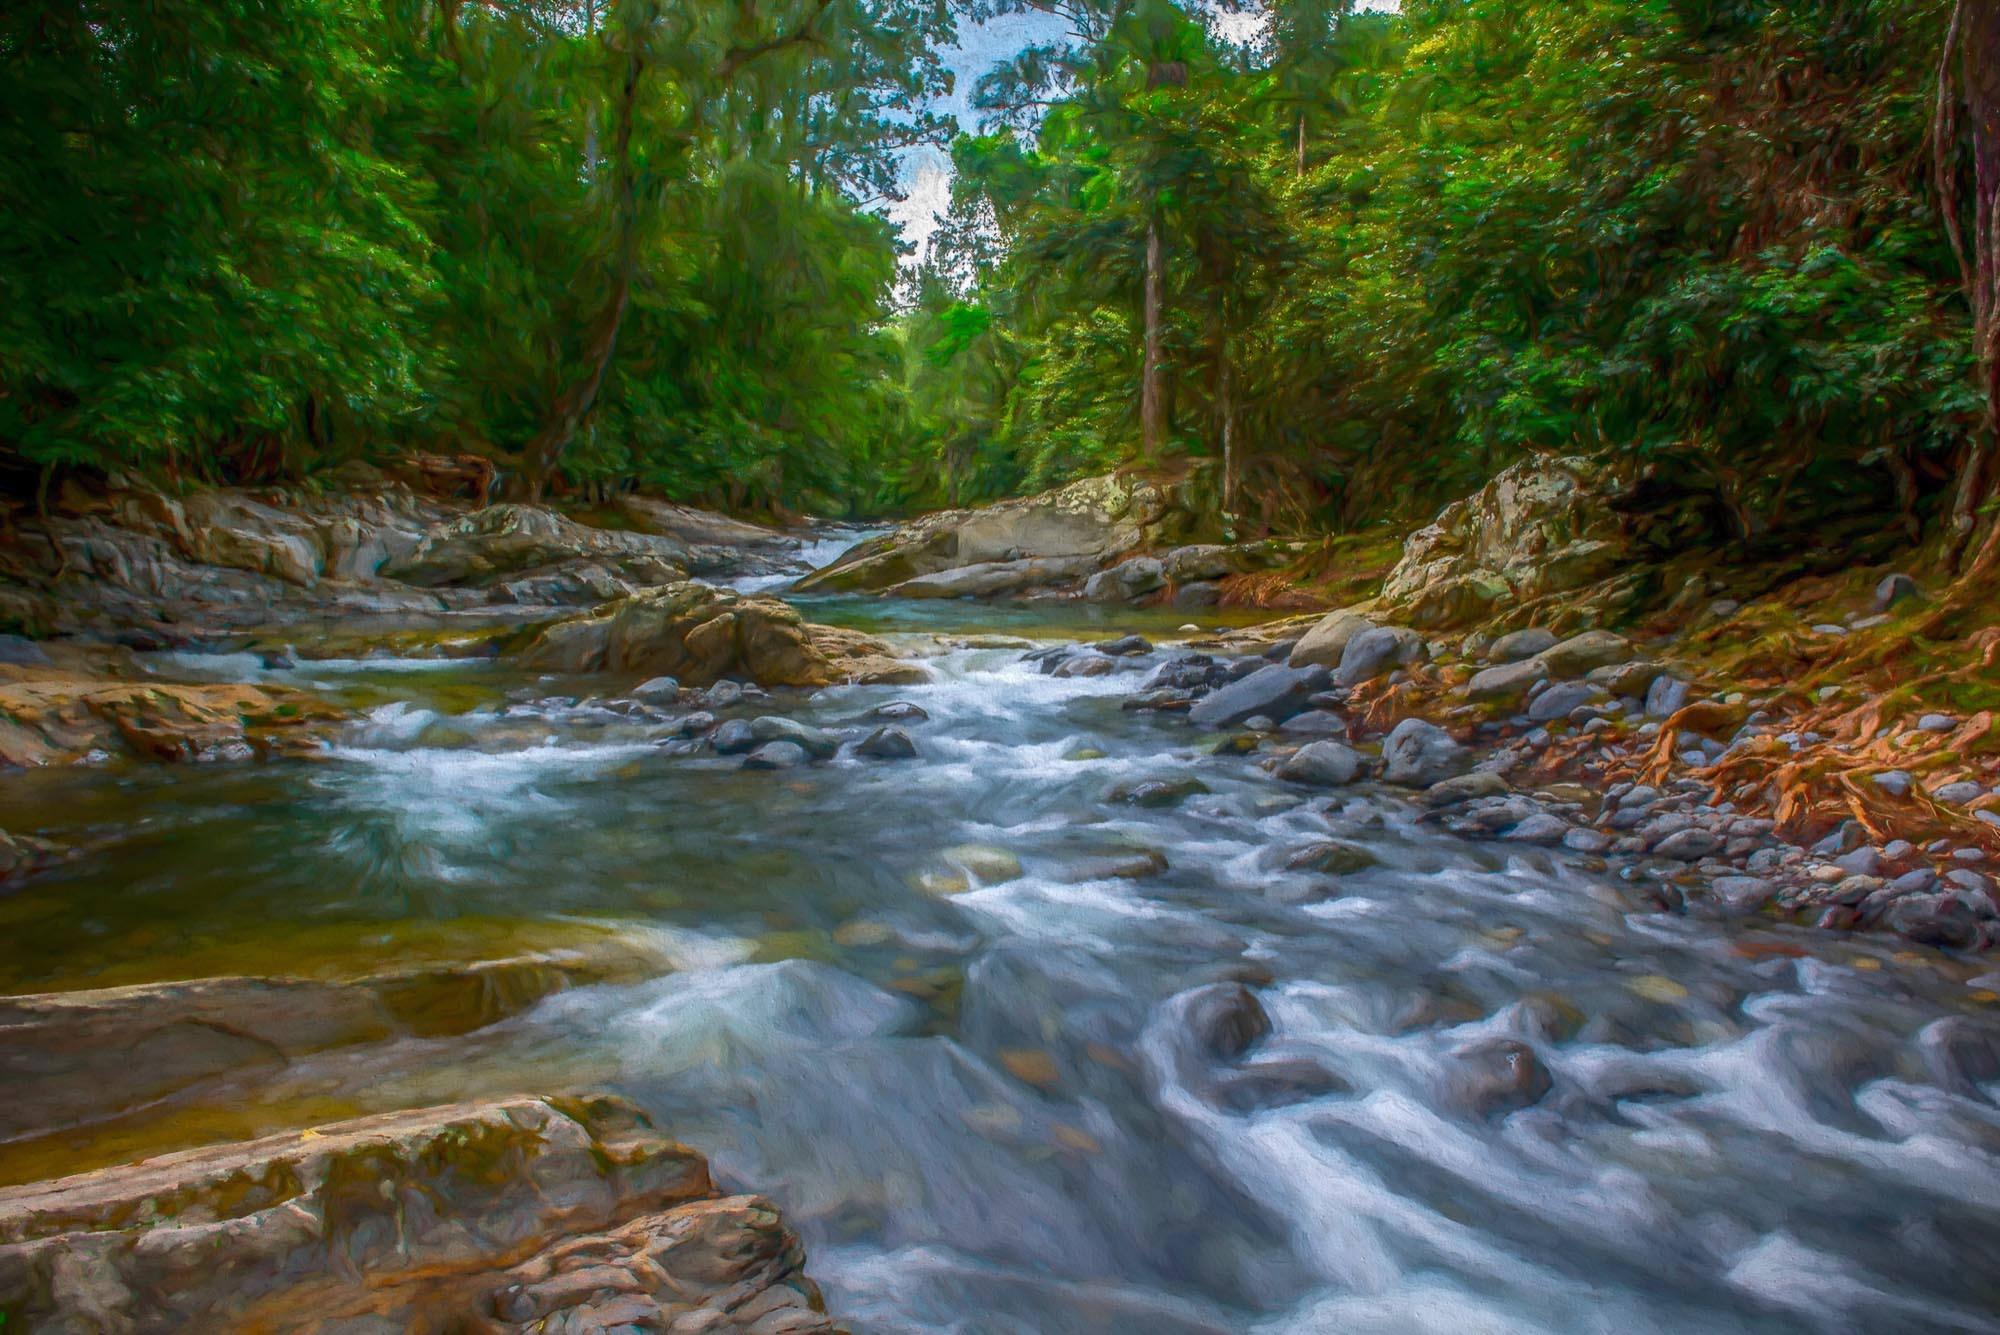
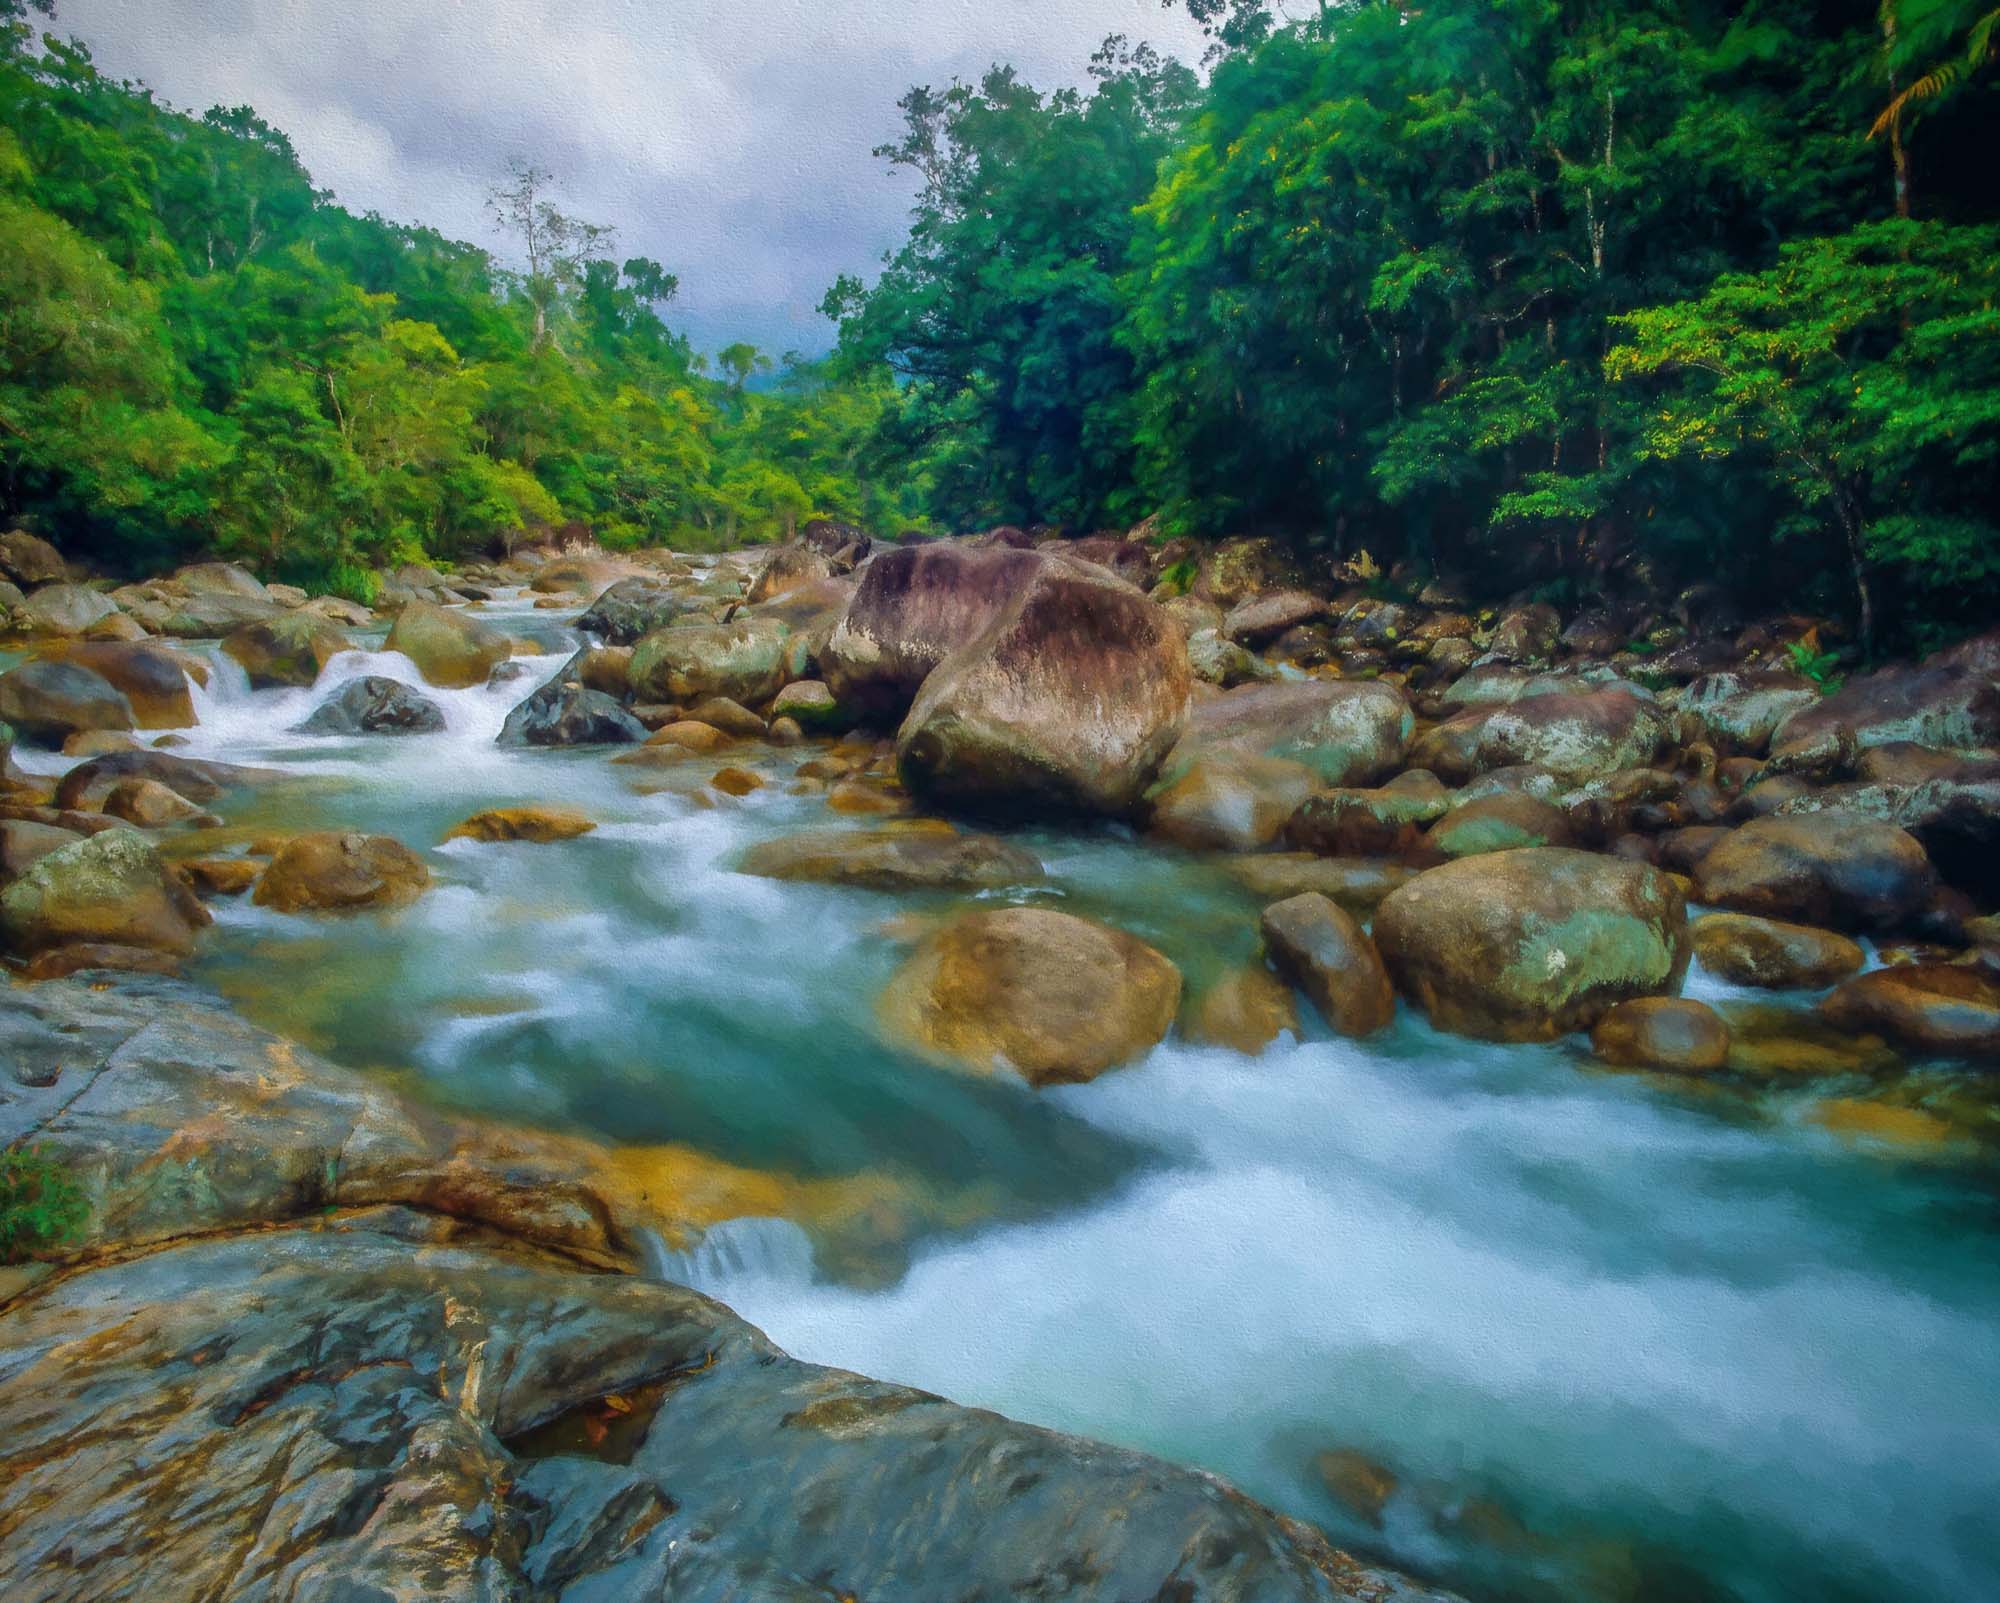
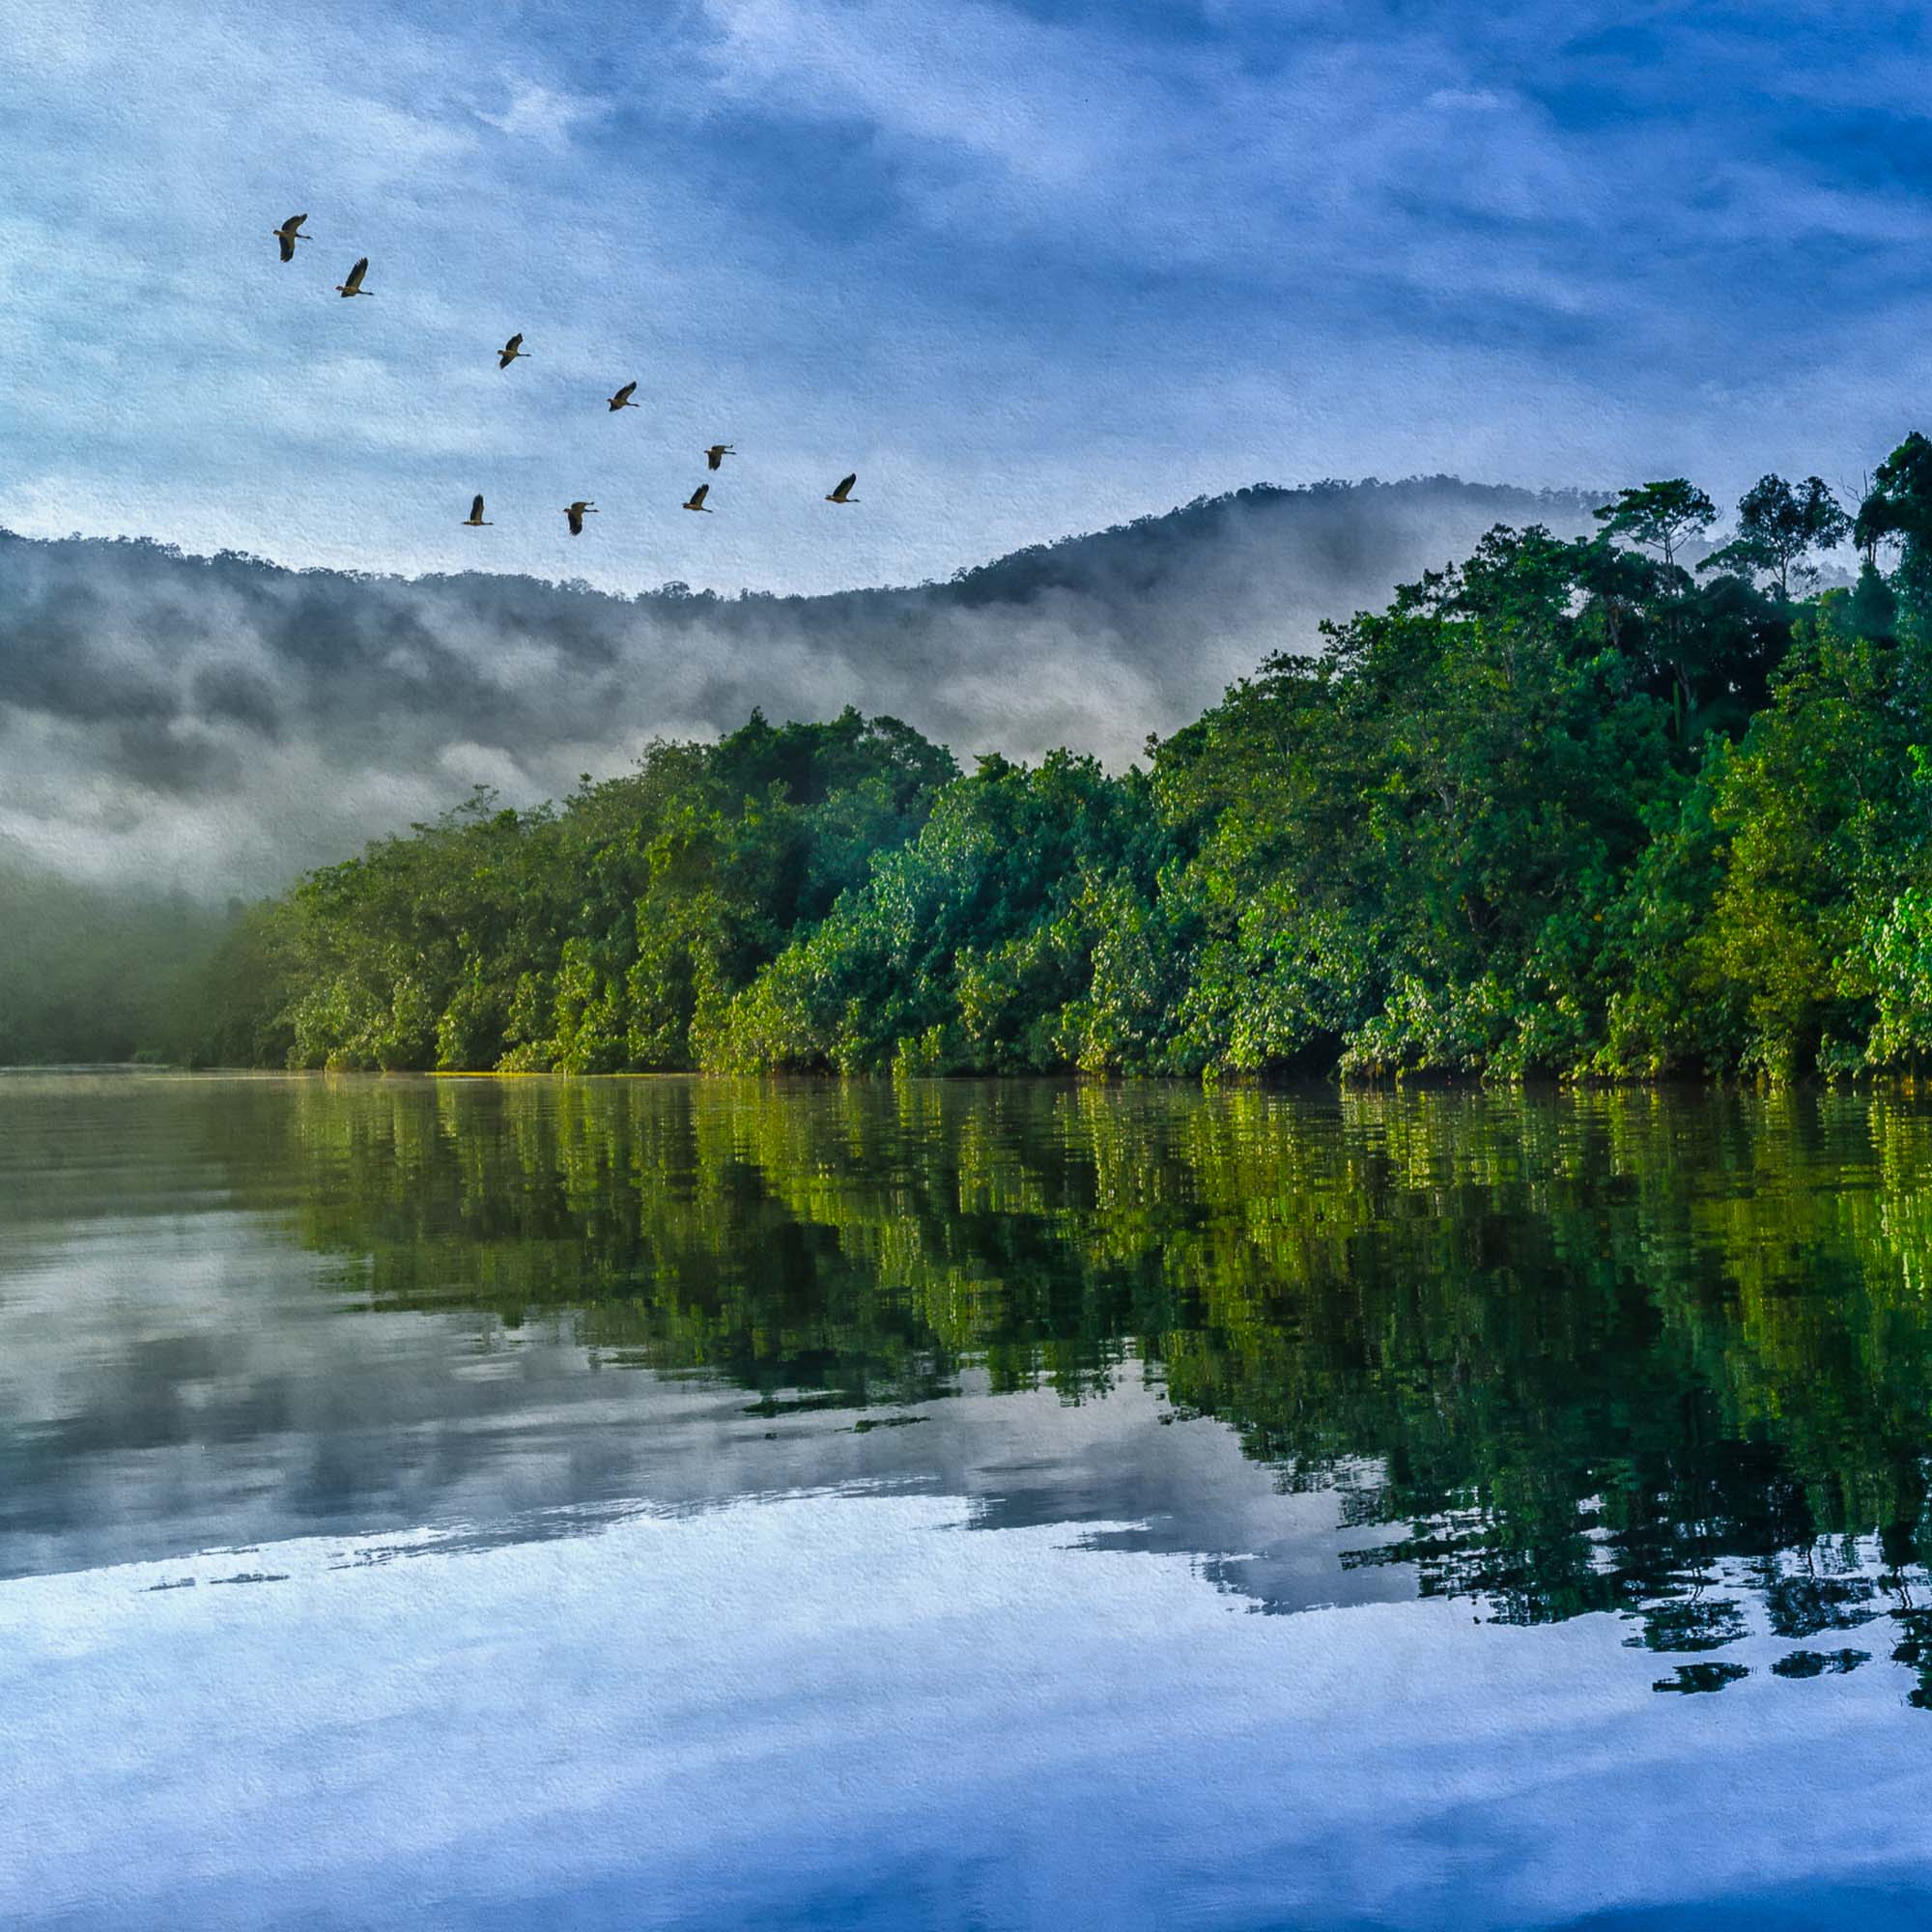
The best conditions for photographing rainforest are either bright overcast or misty weather – days that start out with heavy mist that is then, around mid-morning, penetrated by the sun. The shafts of light that fill the forest create a spectacular effect.
The reason for preferring overcast weather is that the water particles in cloud and mist diffuse the light, allowing it to penetrate into even the darkest of forest areas. With a camera mounted on a tripod, a wide-angle lens, and a cable release attached to the camera to reduce any movement, you will be amazed at the results you will get even under what may appear to be quite dark conditions. Avoid large areas of sky in the picture – they will overwhelm the forest making it appear darker and filled with shadow.
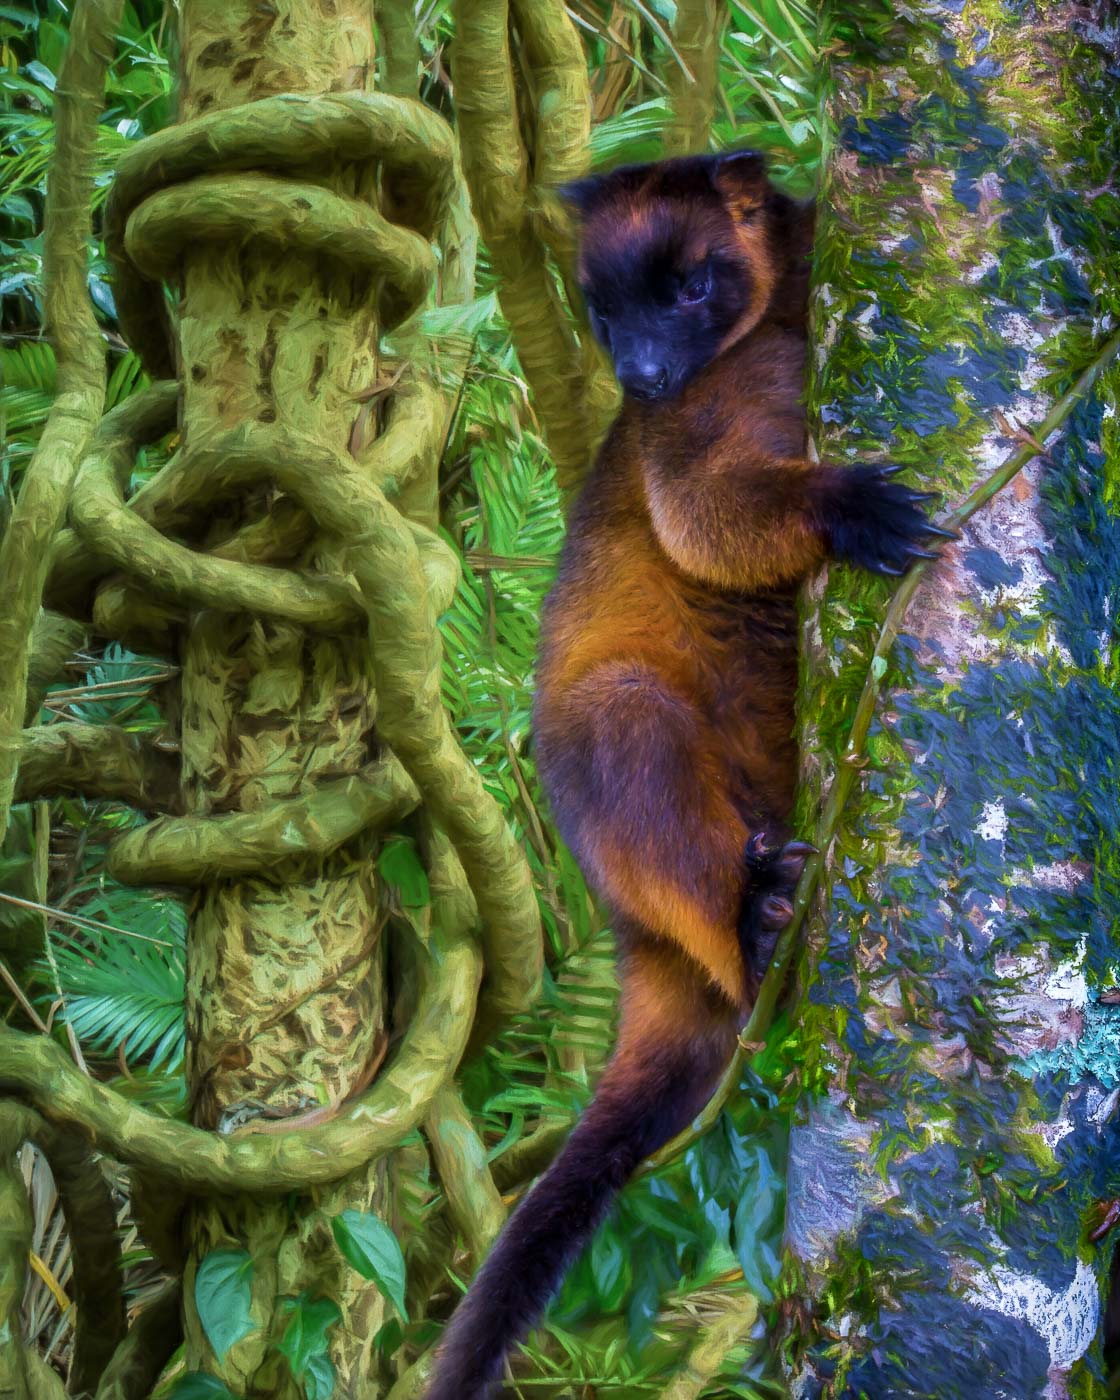
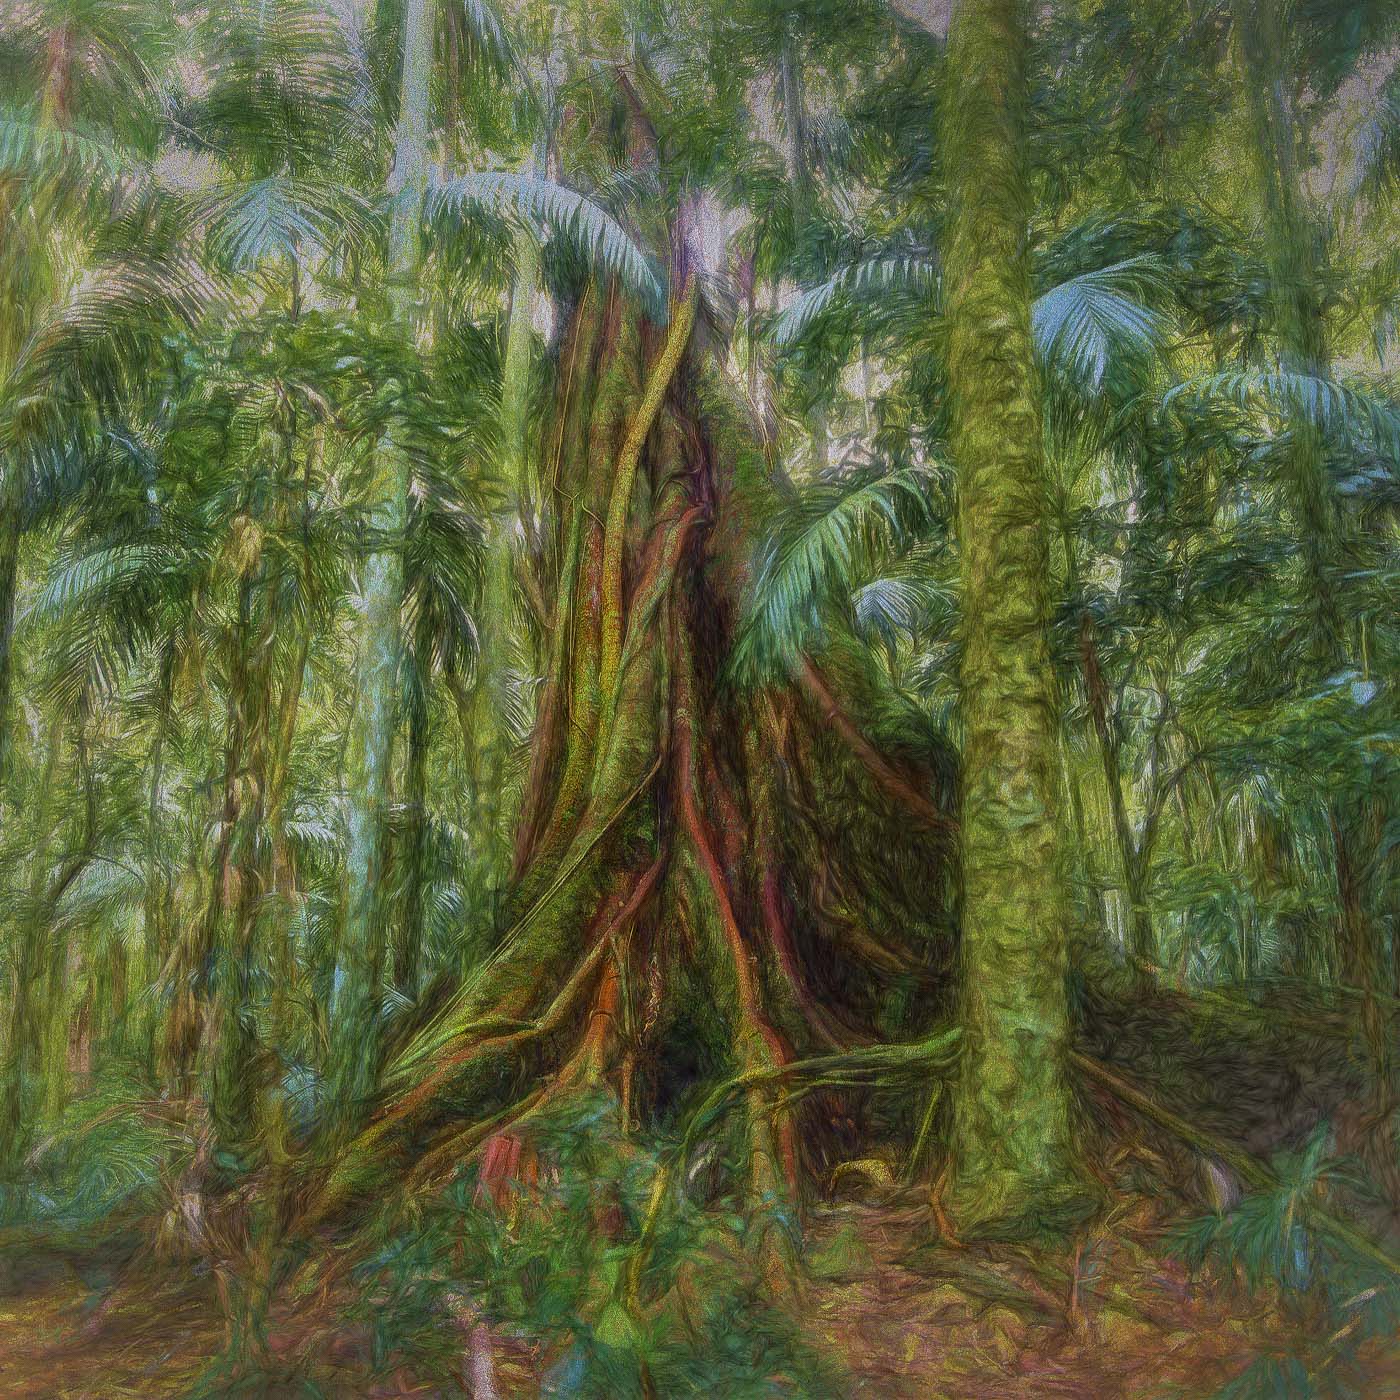
A rainforest is full of inspiring and sometimes daunting creative challenges. Potential shots are everywhere: you can hear the birds, the thud of wallabies, but cannot see them; leaves rustle, but there is no sign of life. How do you overcome this sense of frustration? You simply cease to care. Switch your mind to play mode. Give your imagination free rein. Let the strangler figs’ looping, twisting roots take you on a journey – open your shutter and follow them. This is what rainforest photography can be about. It is also about patience, careful observation, luck, and sheer, painstaking, hard, sweaty, work. Nonetheless, the results will be worth it because rainforest images have the power to reach out and touch people in a way few other subjects can.

Photographing waterfalls
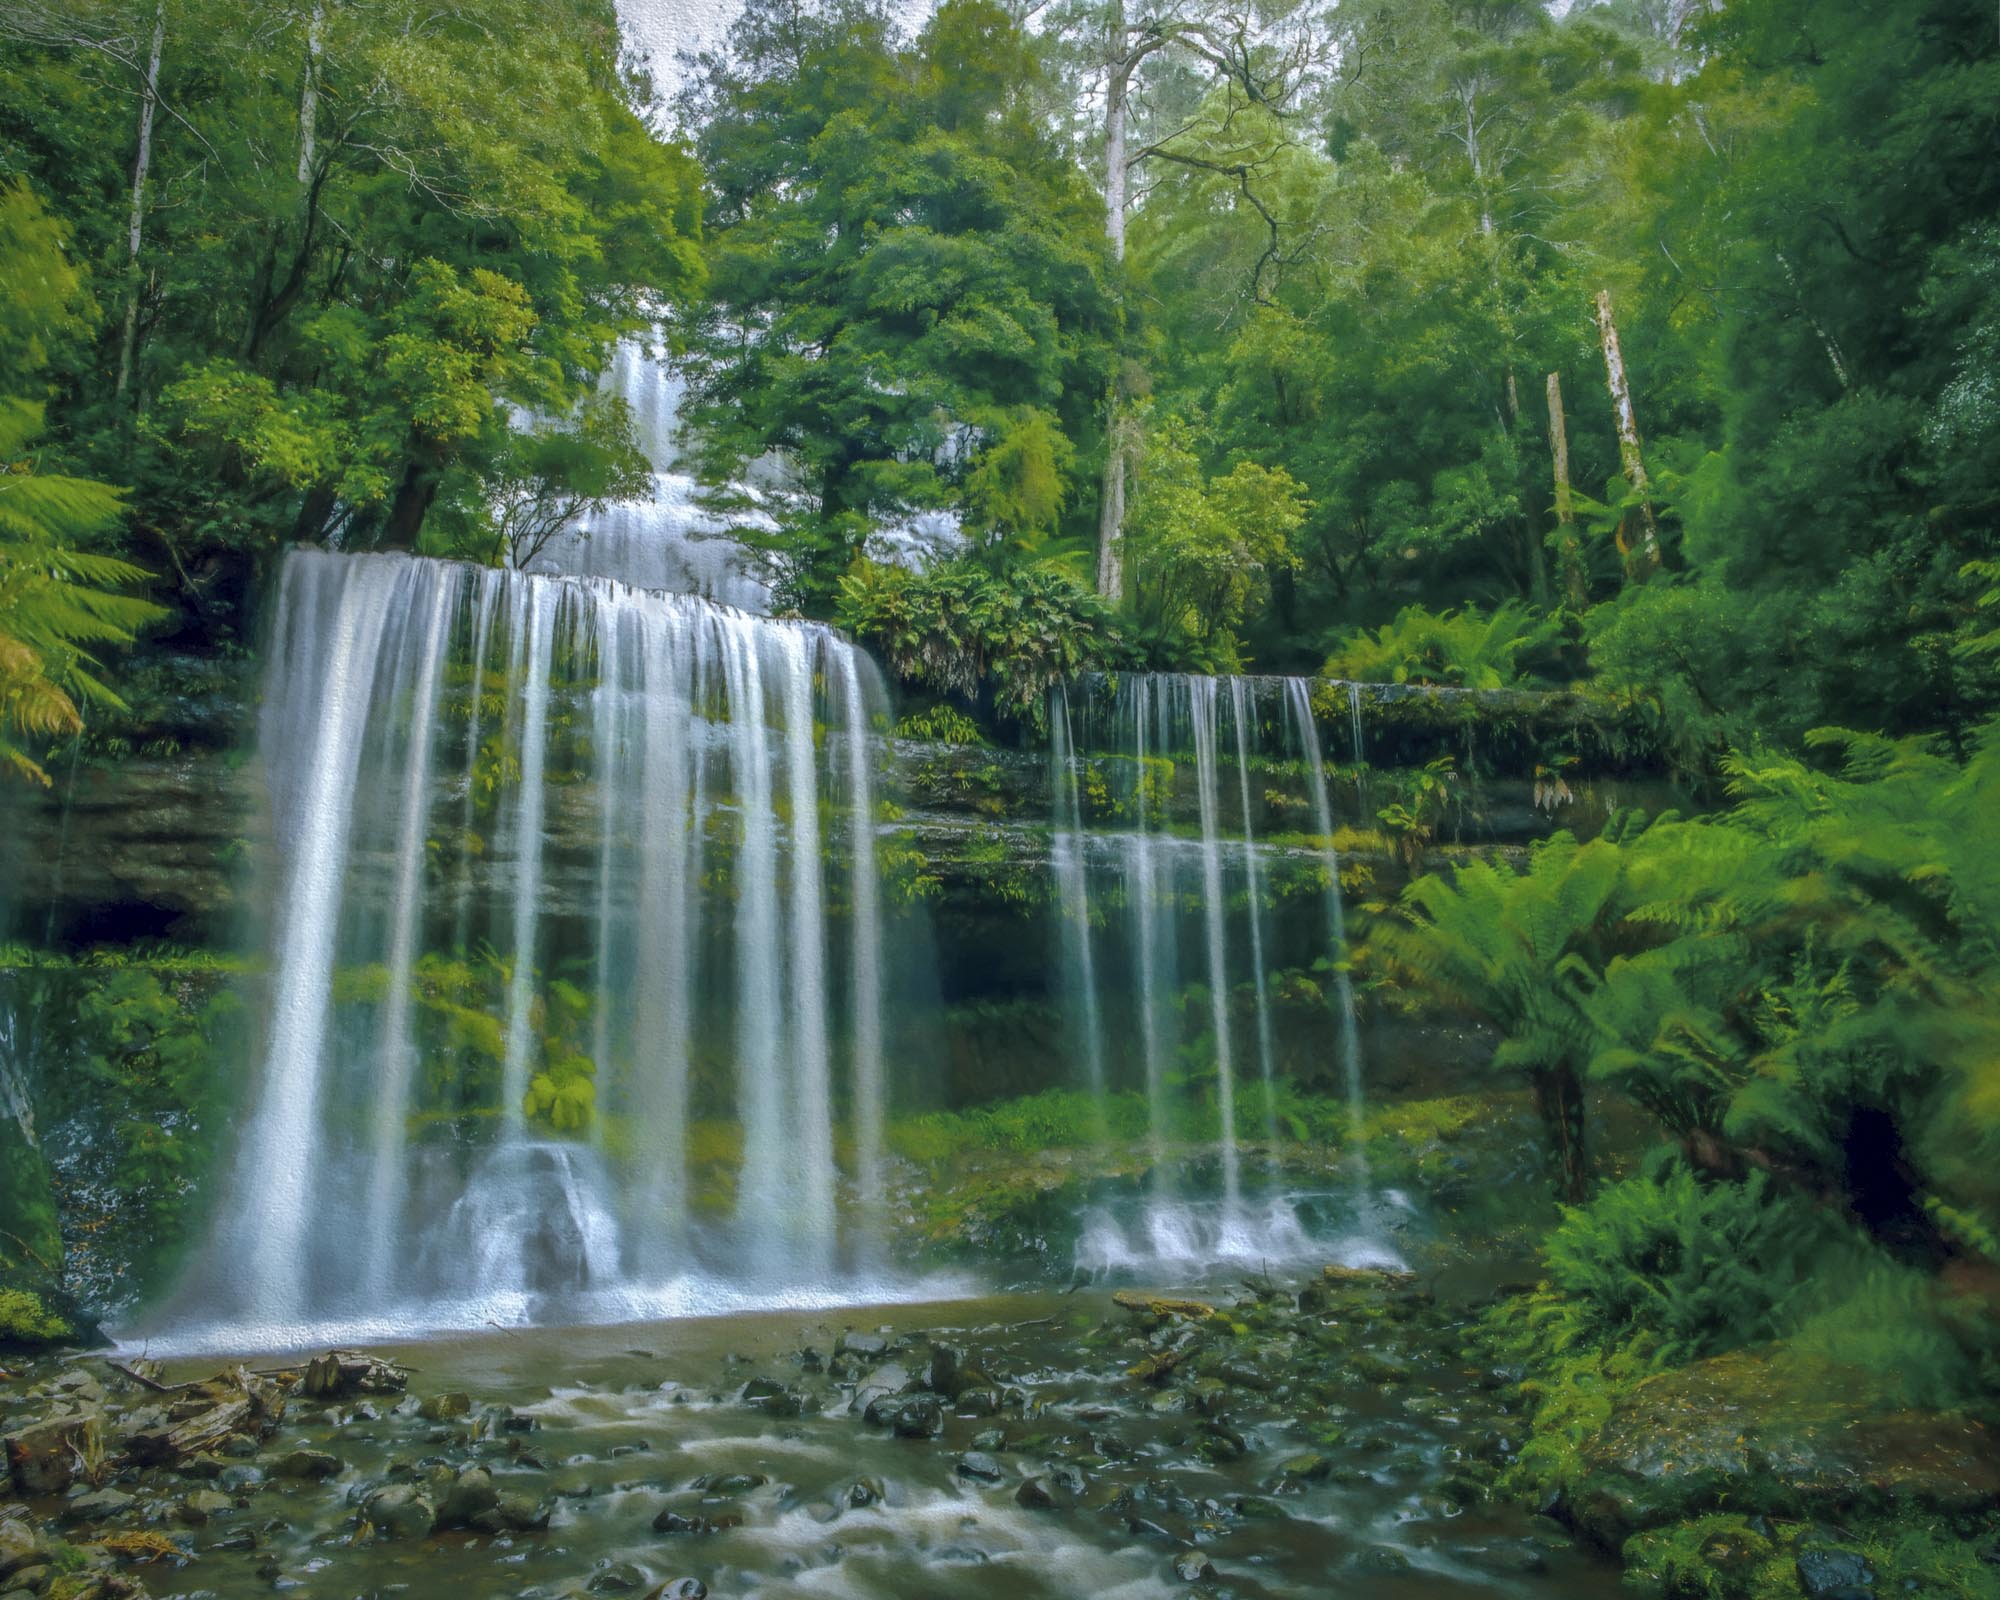
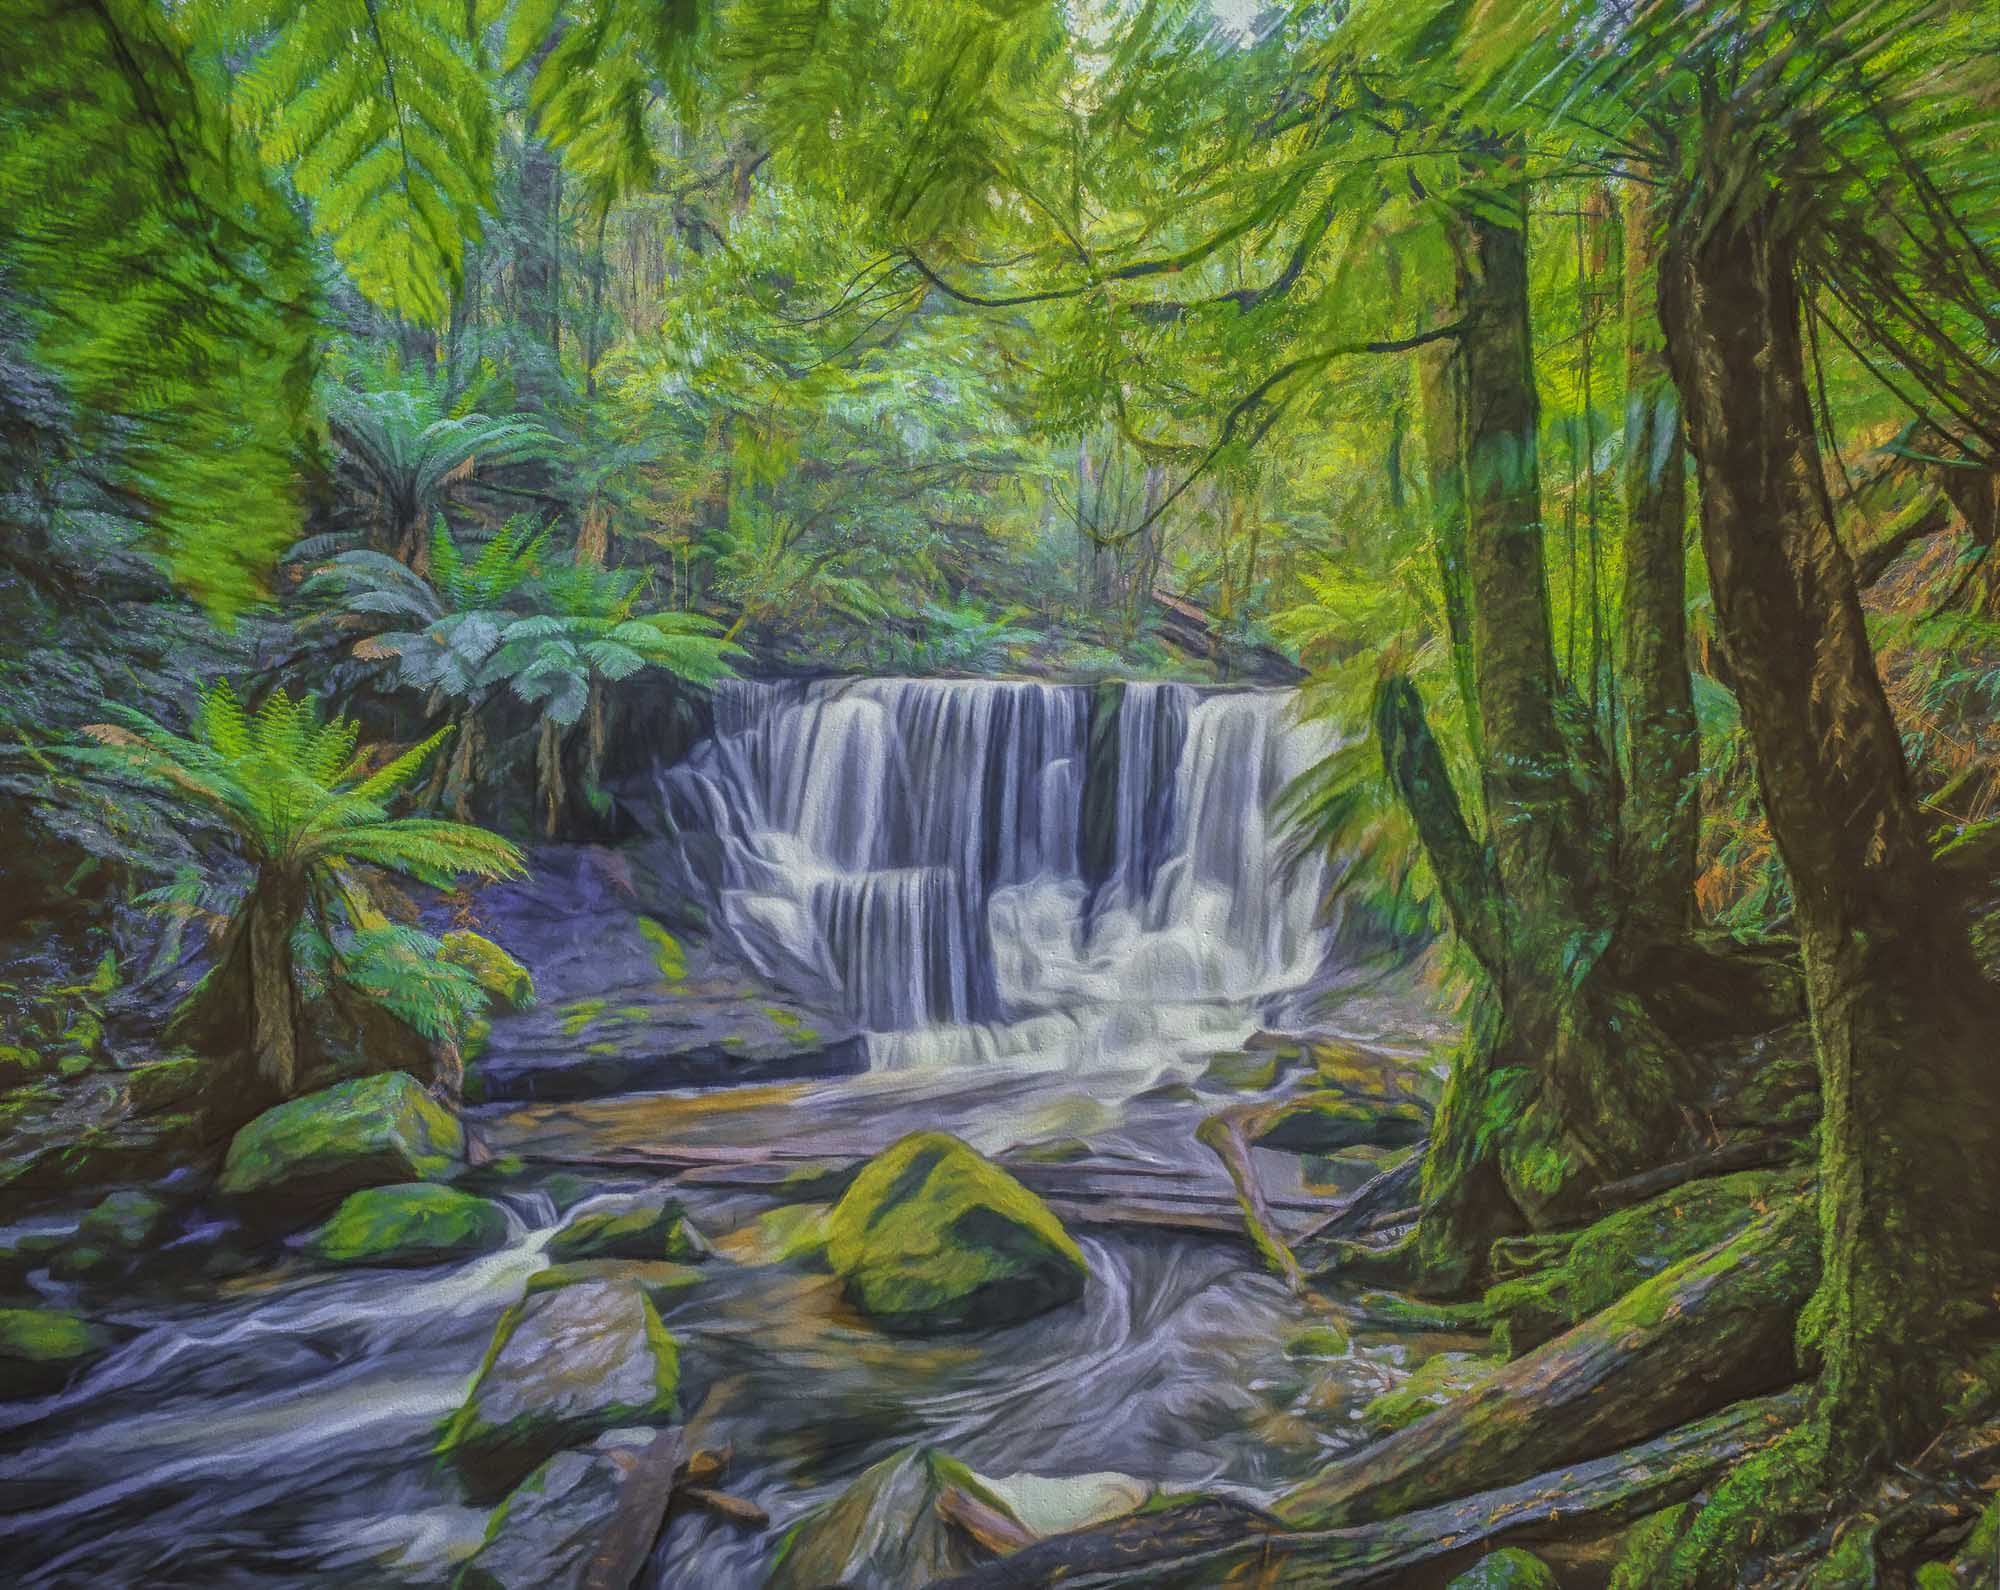
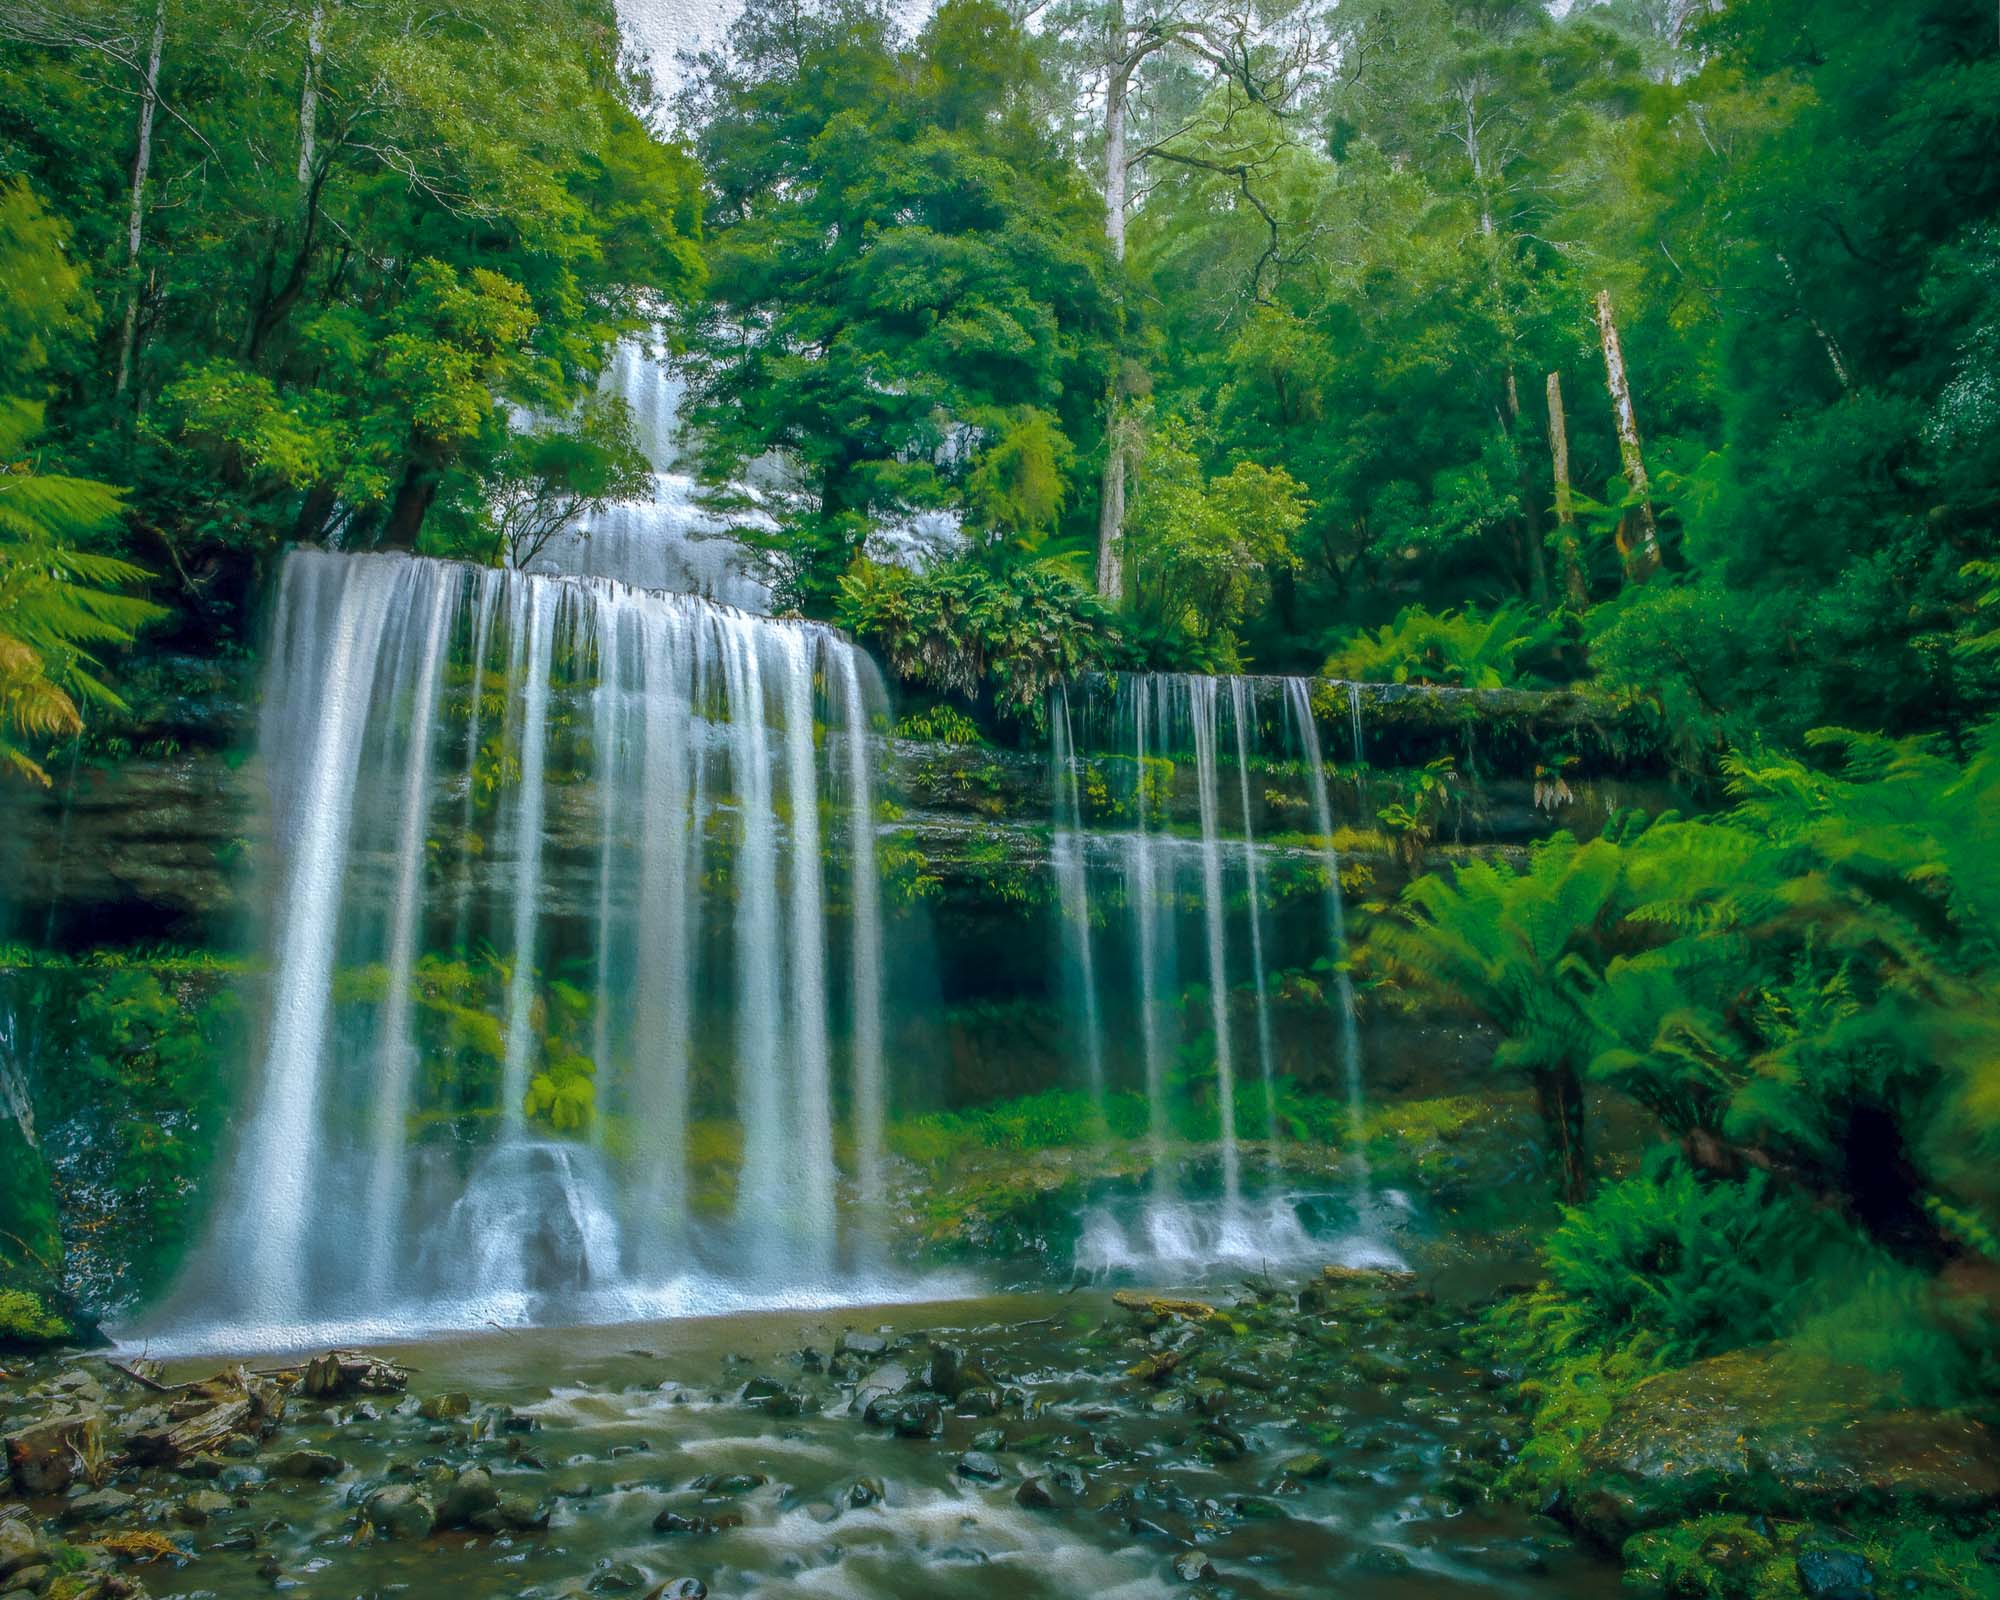
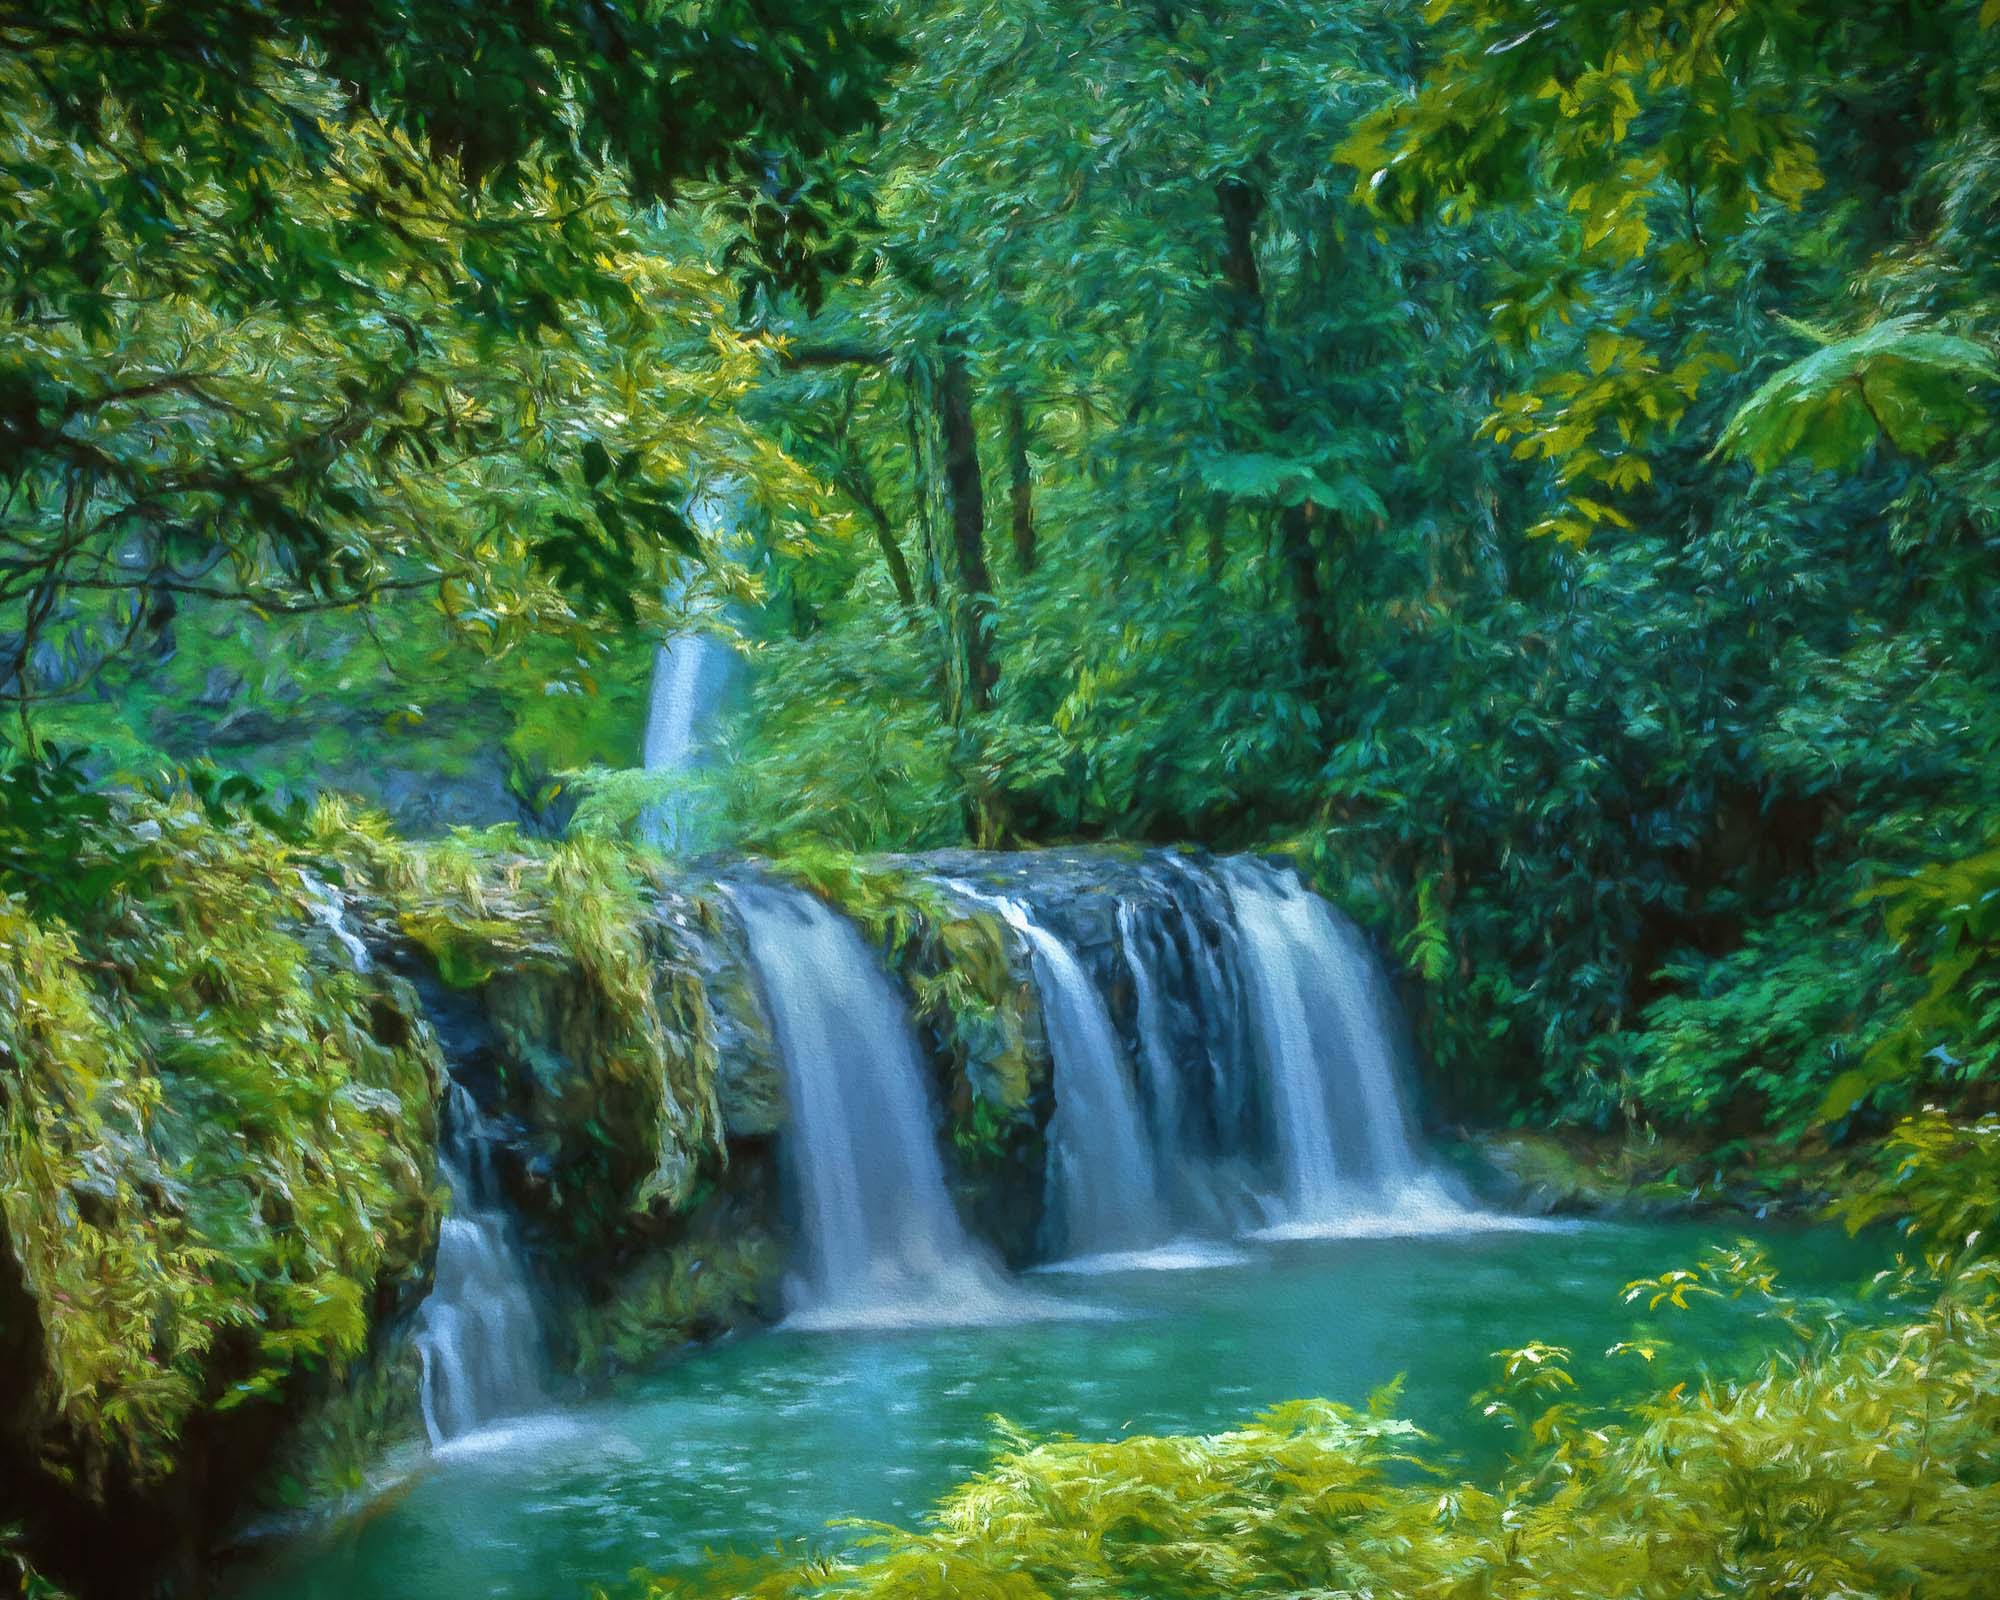
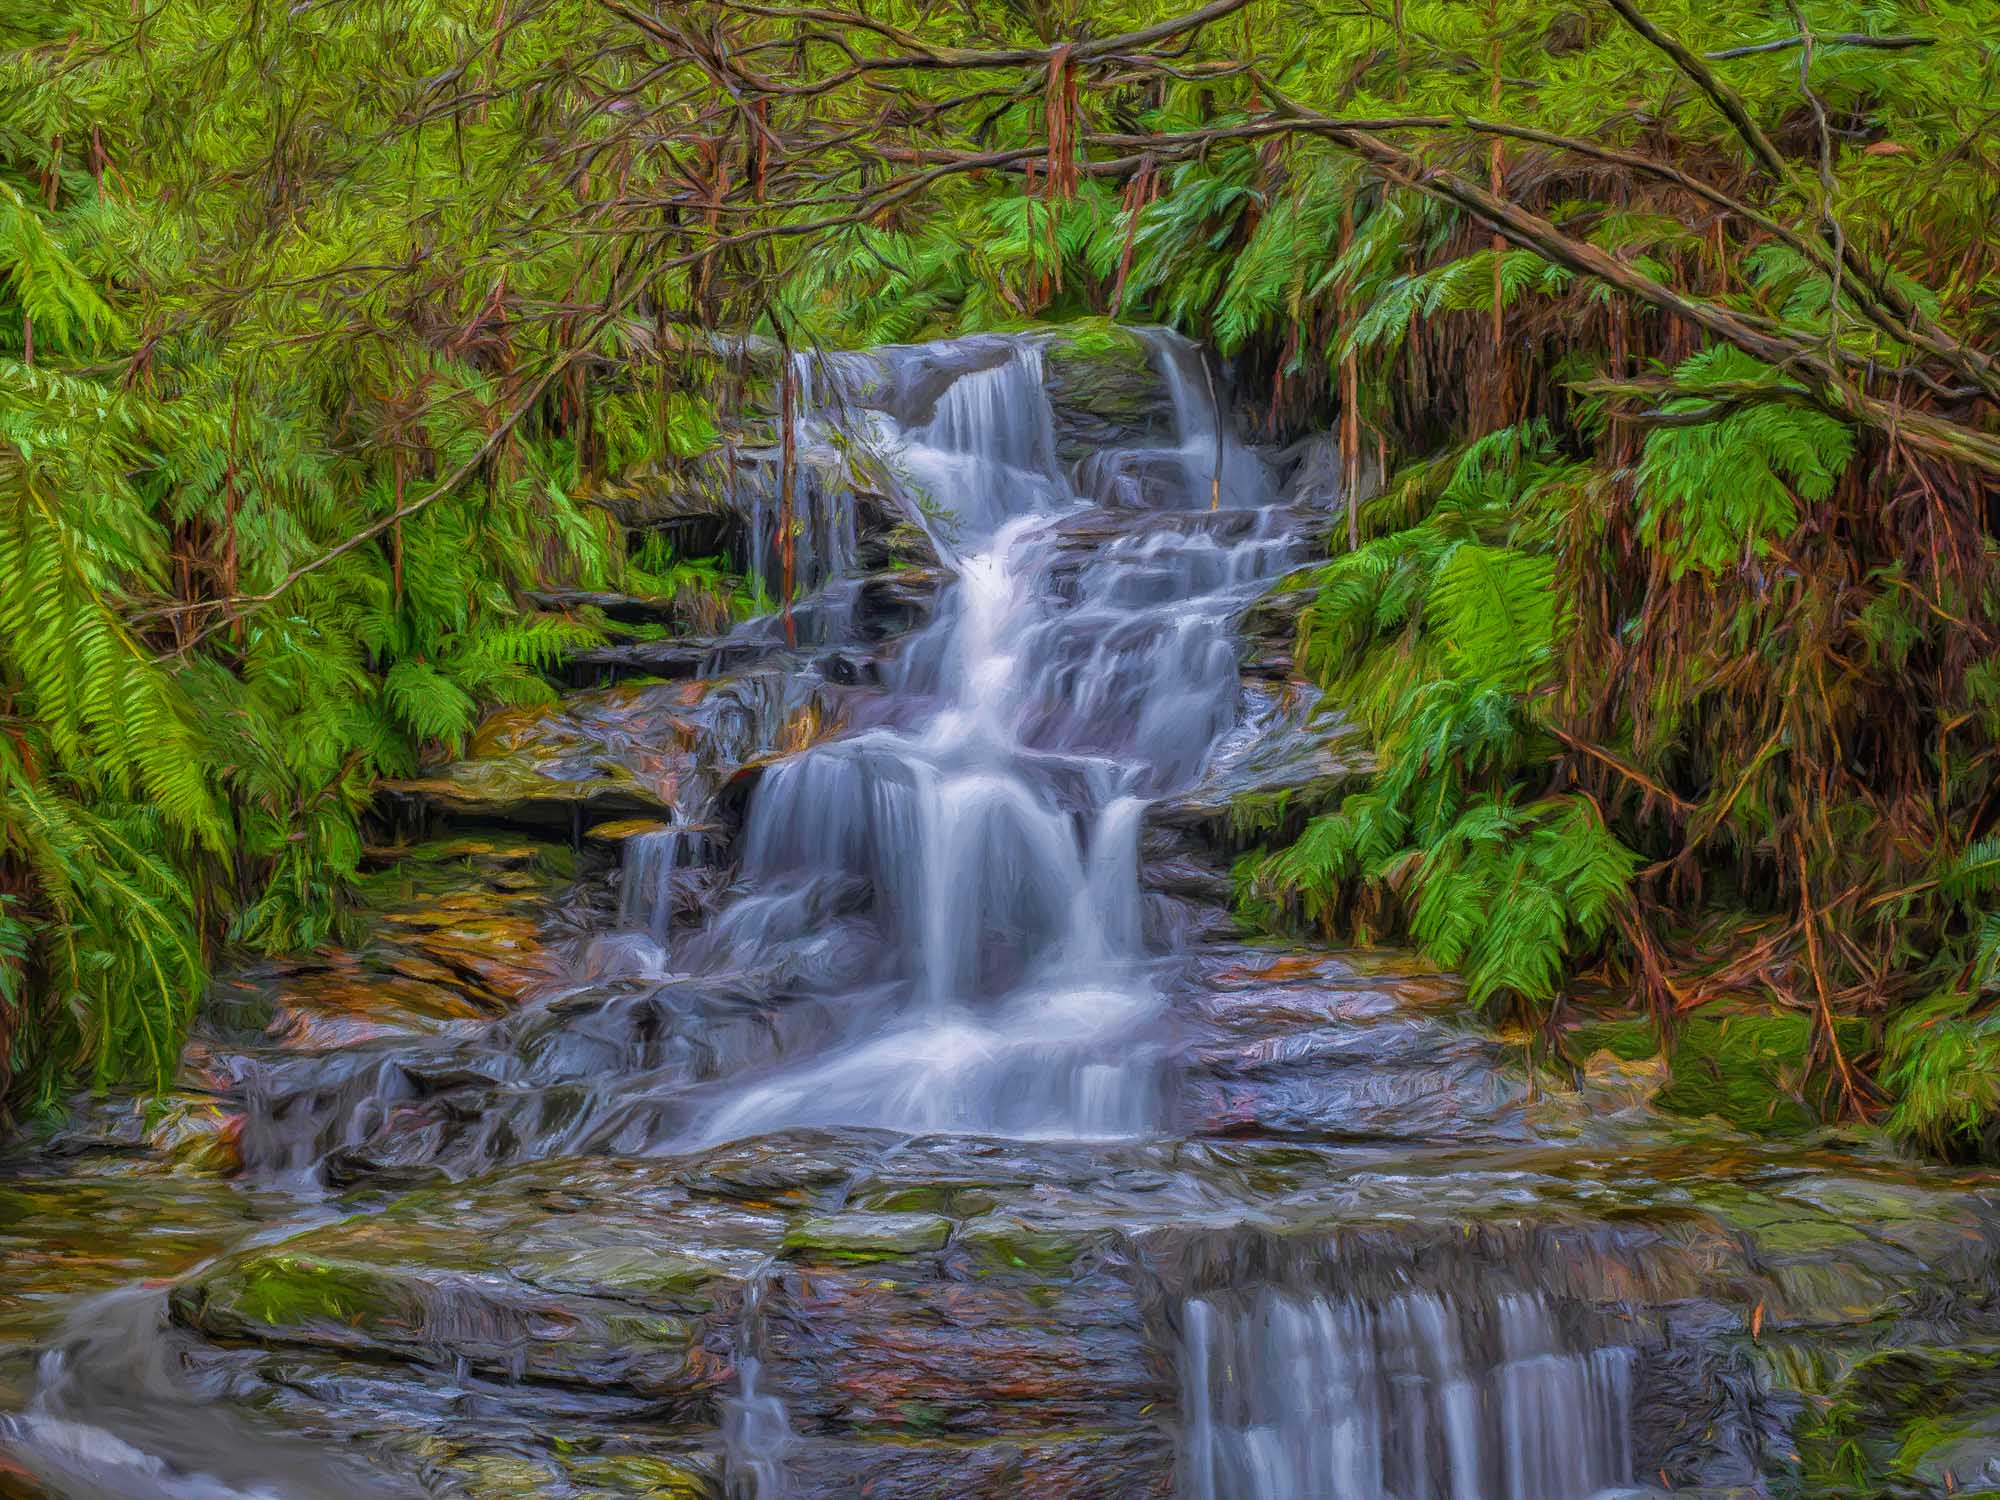
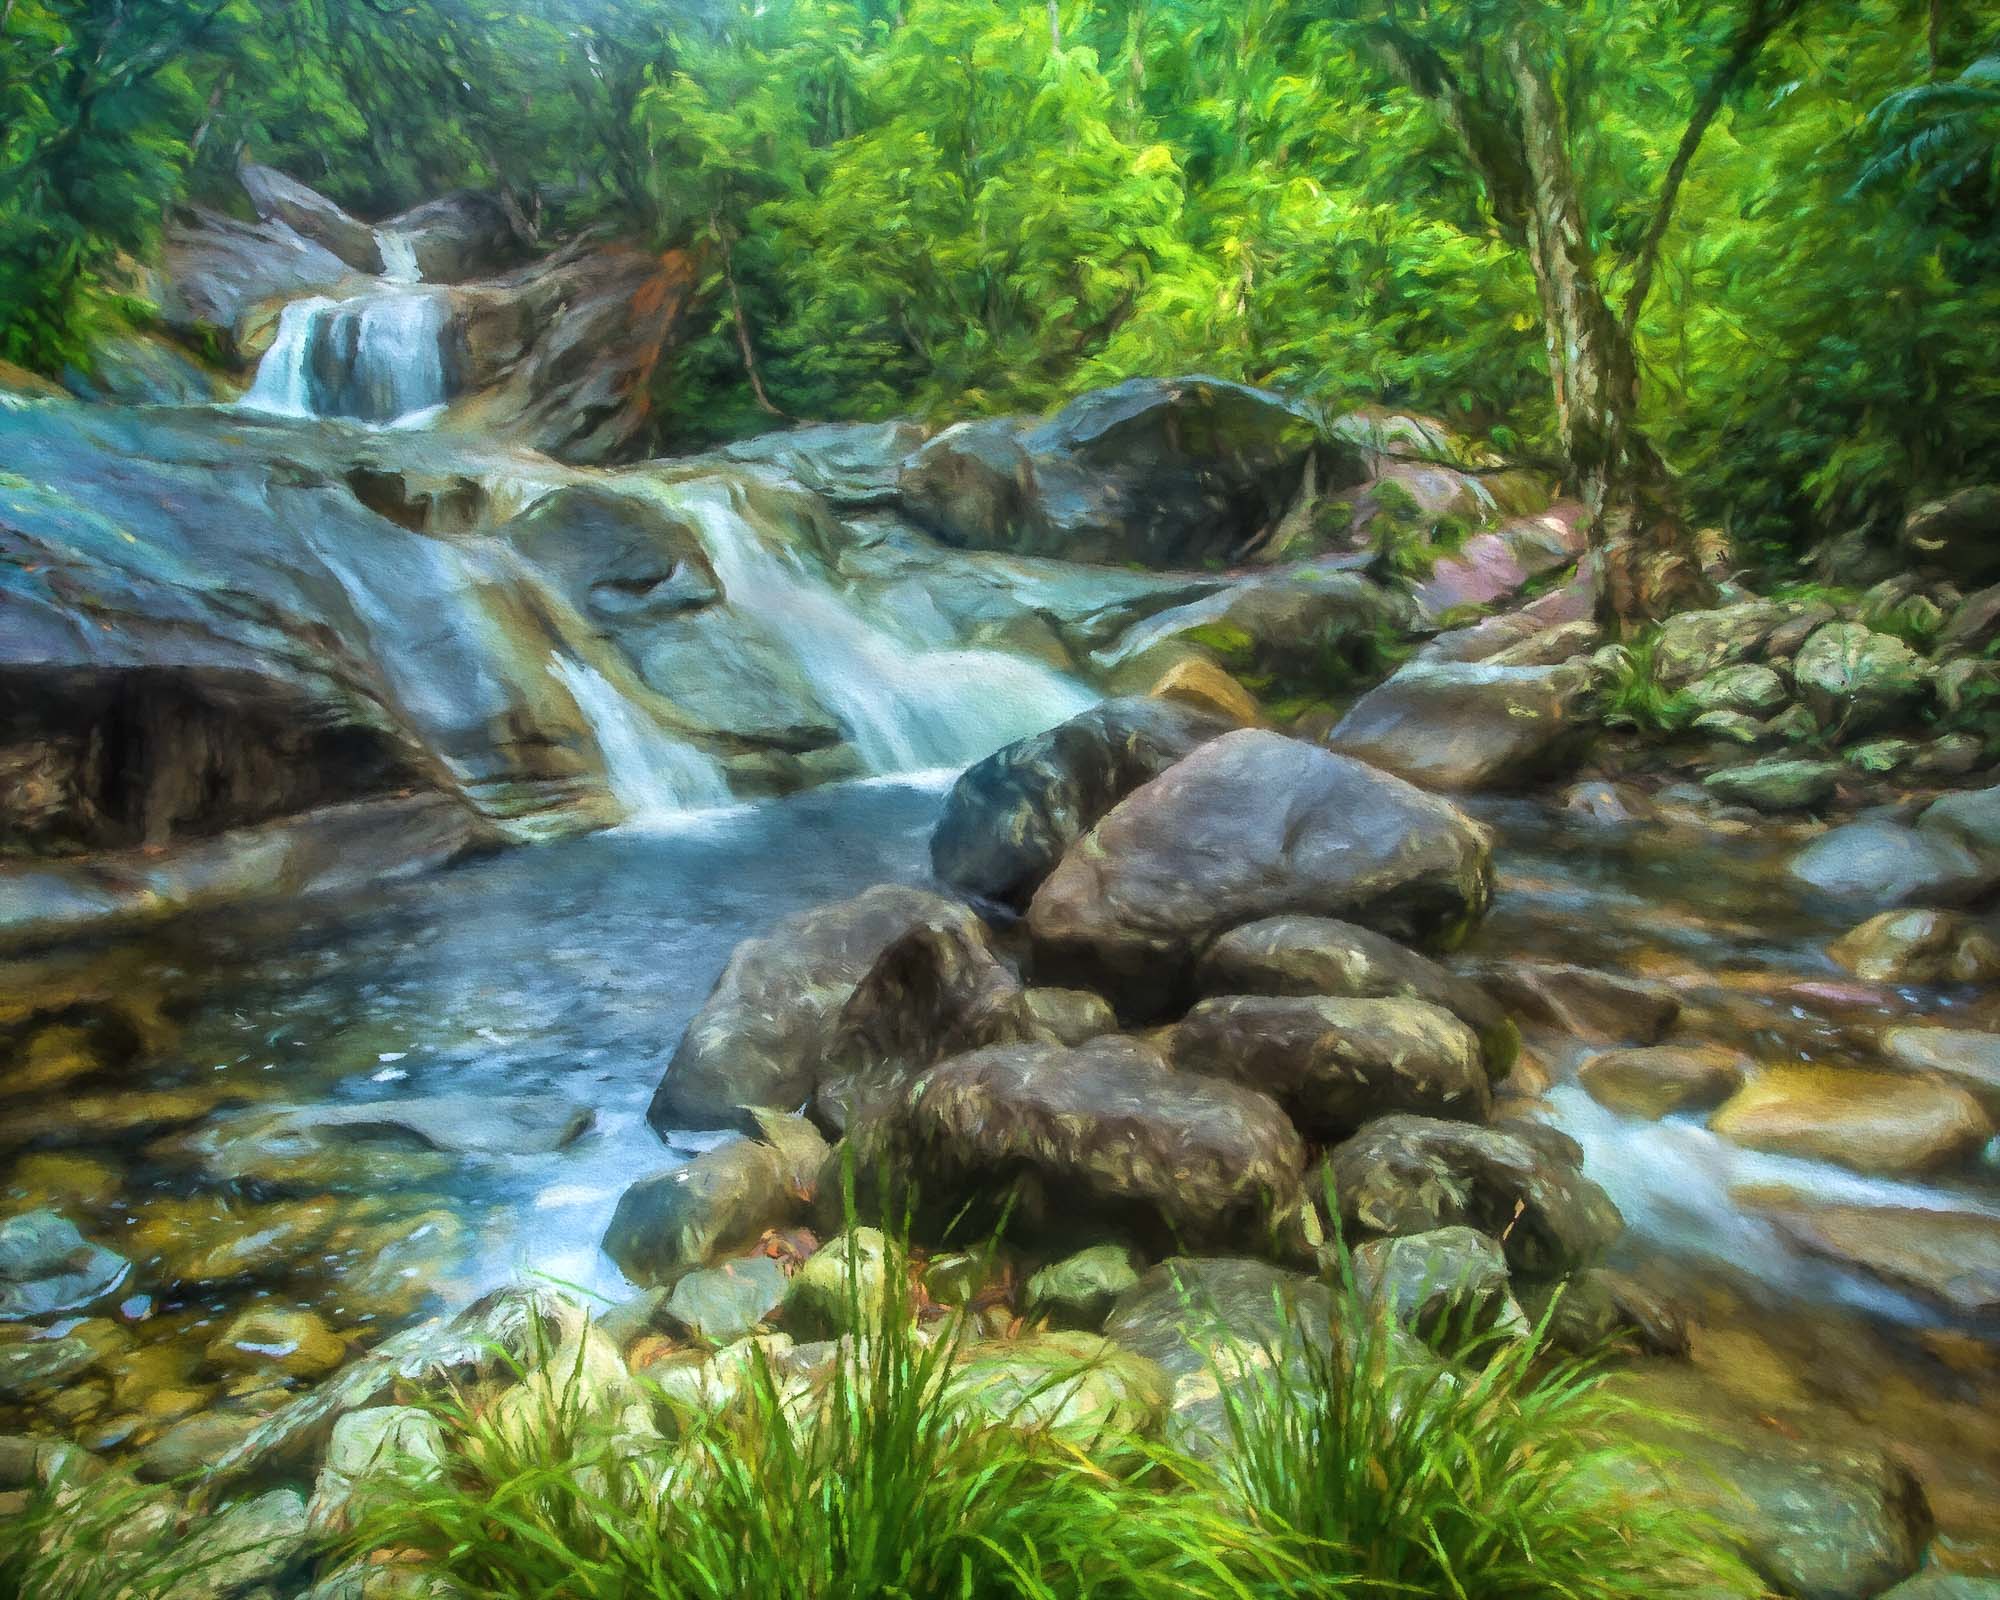
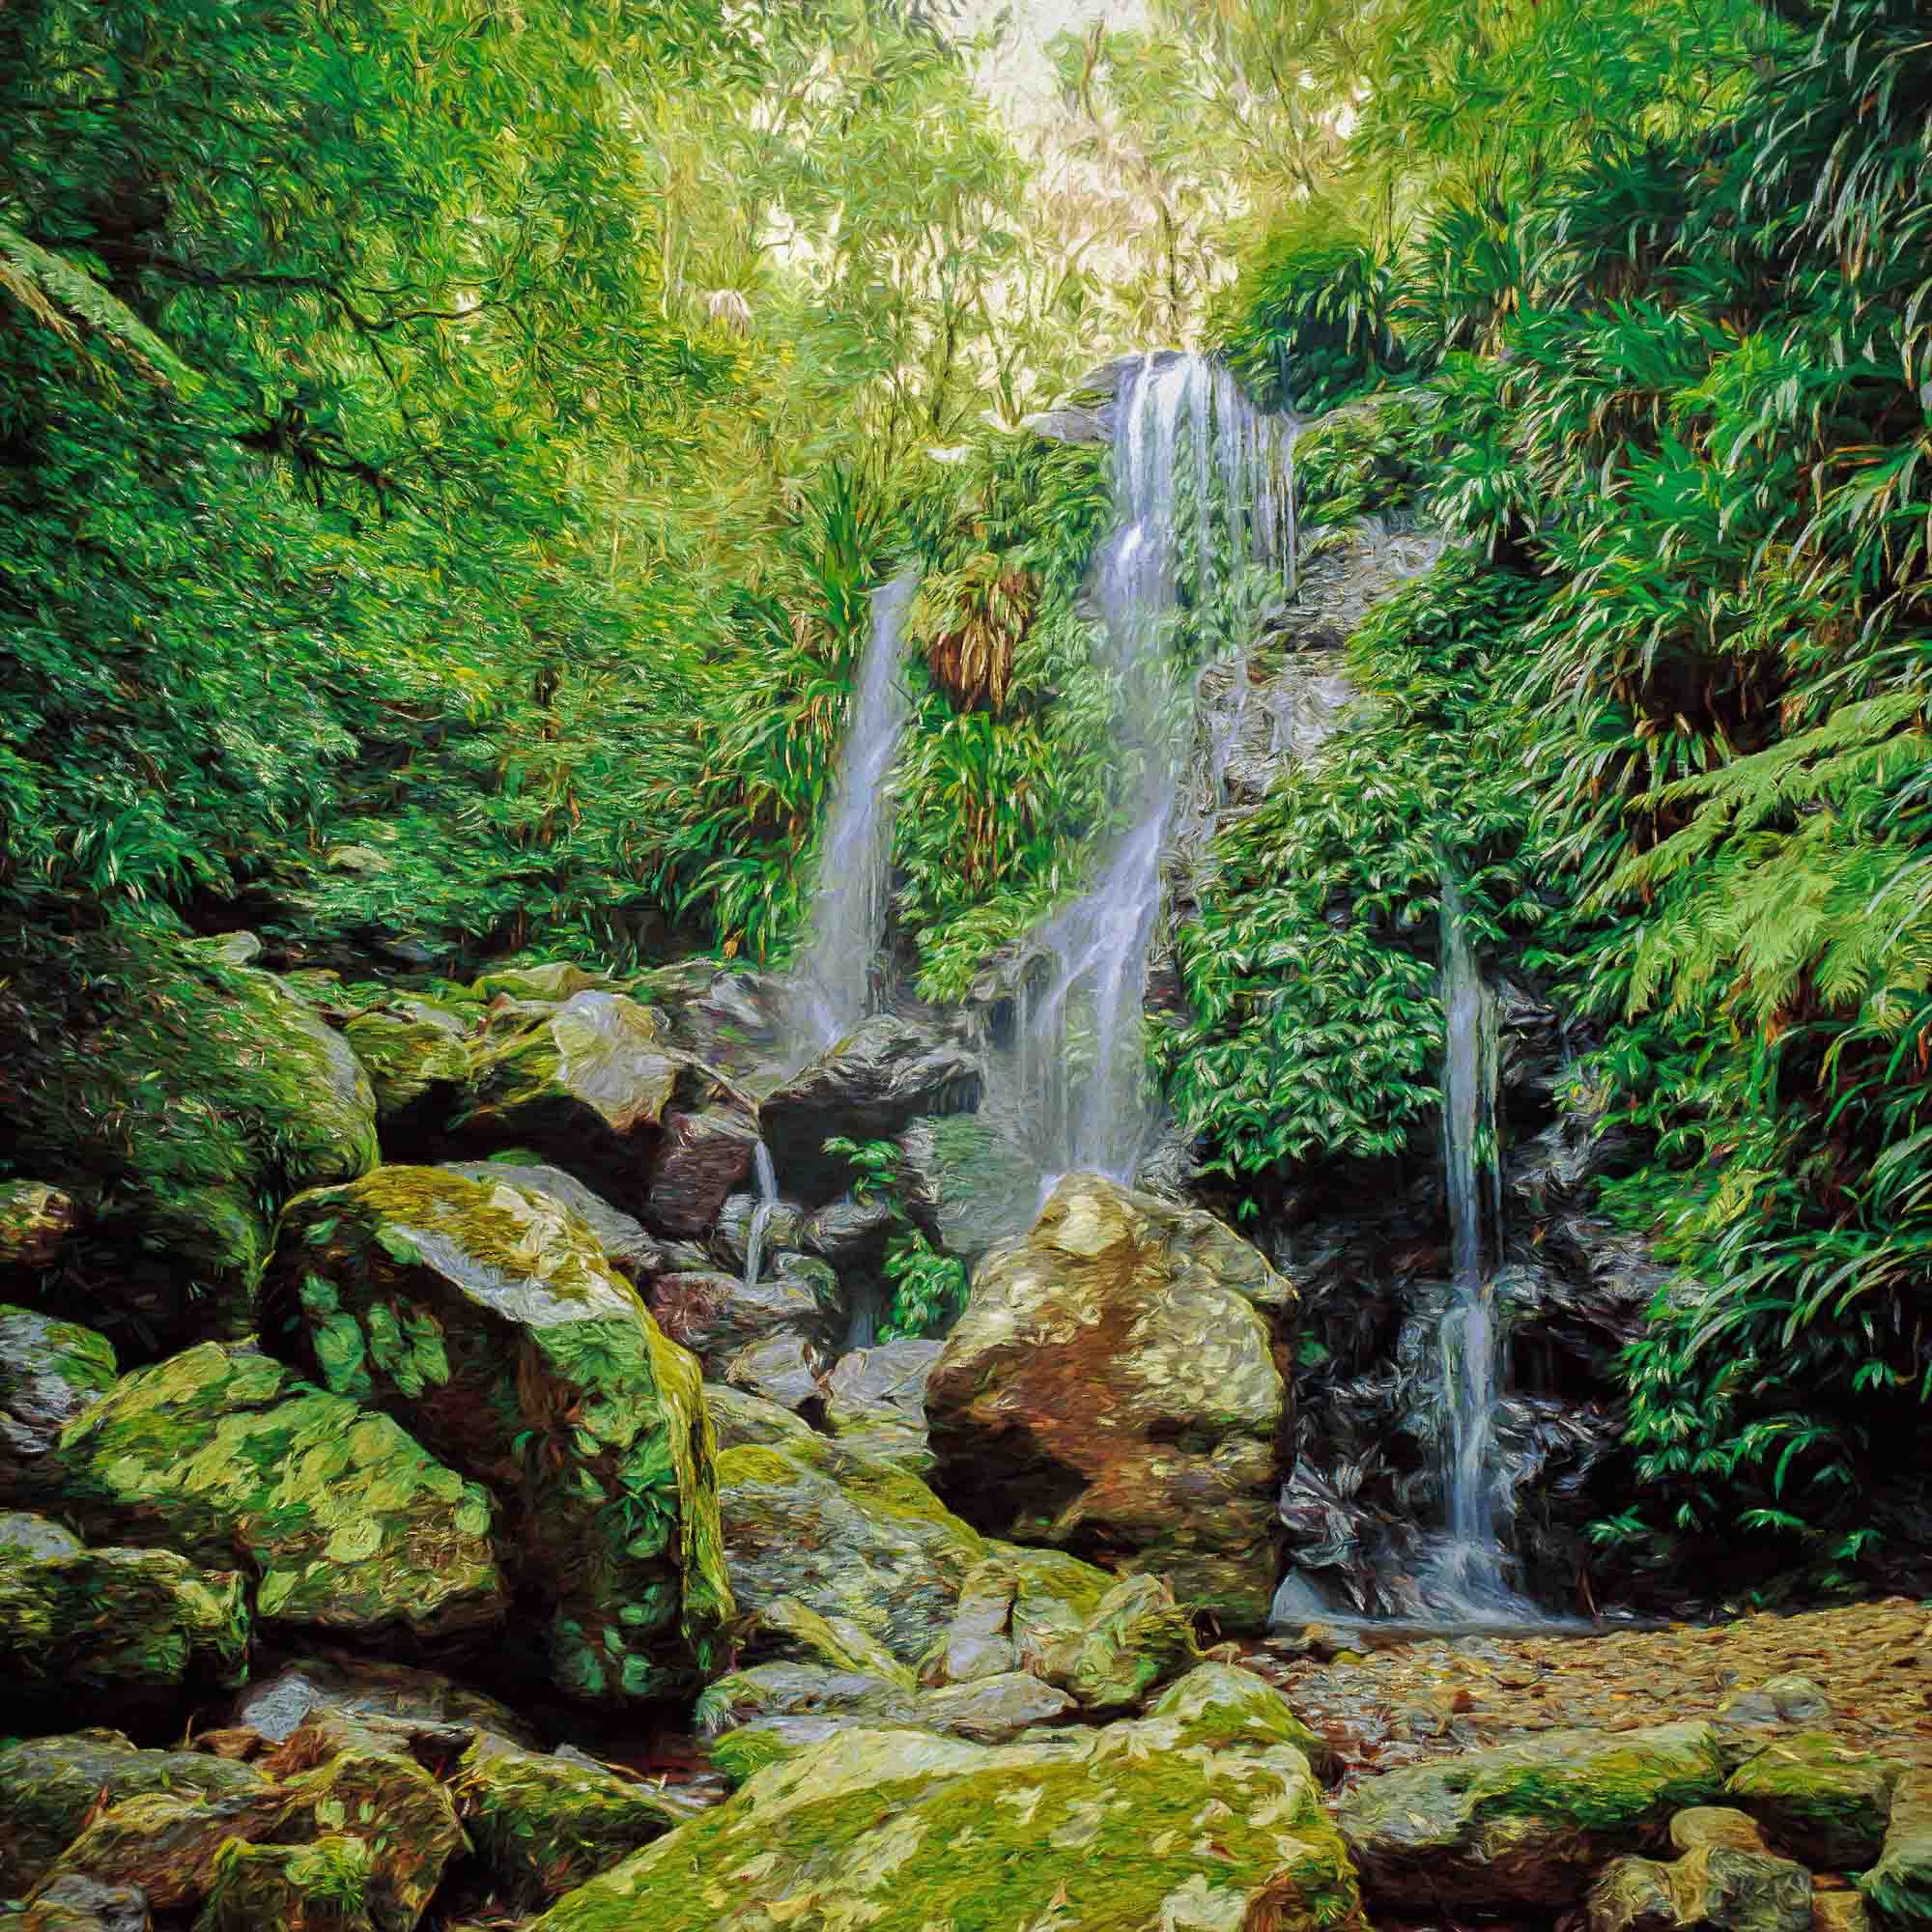
Some of the most appealing images to come out of rainforest are of waterfalls, especially after recent heavy rain when the fall is exploding with water. The overall appeal of the image is intensified if the light is diffused by water particles from either cloud or mist. Bright overcast weather with a touch of mist is ideal, but not always possible. You can see in the images above and below with shutter speed settings at 10th of a second how essential it was to have a tripod to stabilise the camera shake..

To further enhance a waterfall photograph, use slow shutter speed, say 1/30 of a second, and preferably even slower: around 1/15, 1/10 or 1/5 of a second. This effectively blurs the water, giving a sense of movement. You might like to try several shutter speeds then judge the result. If the light is too bright you can reduce the light level by attaching a neutral density filter. To ensure a sharp image, attach your camera to a tripod and use either the delay timer on your camera or a cable release to prevent movement.

Rainforest Photo Tips
- Get as much information as you can about conditions, distances, scenic and botanical attractions.
- Always pack for a day’s outing. Even if you are planning a half-day, you never know what delights may be encountered. If you are planning a long walk a torch is worth taking. There have been many times that I have becomes so absorbed that time has left me stranded late in the afternoon while still some distance from the car/camp.
- Pack wet-weather protection for your equipment: it’s not called rainforest for anything!
- Take insect repellent, and wear leggings and watertight boots, particularly in the Wet in the tropics – the leeches will get you where you least expect, you can be sure of that.
- Walk quietly – rainforest birds and mammals do not like sudden noises. Try and pick times when other people are less likely to visit so noise is reduced to a minimum.
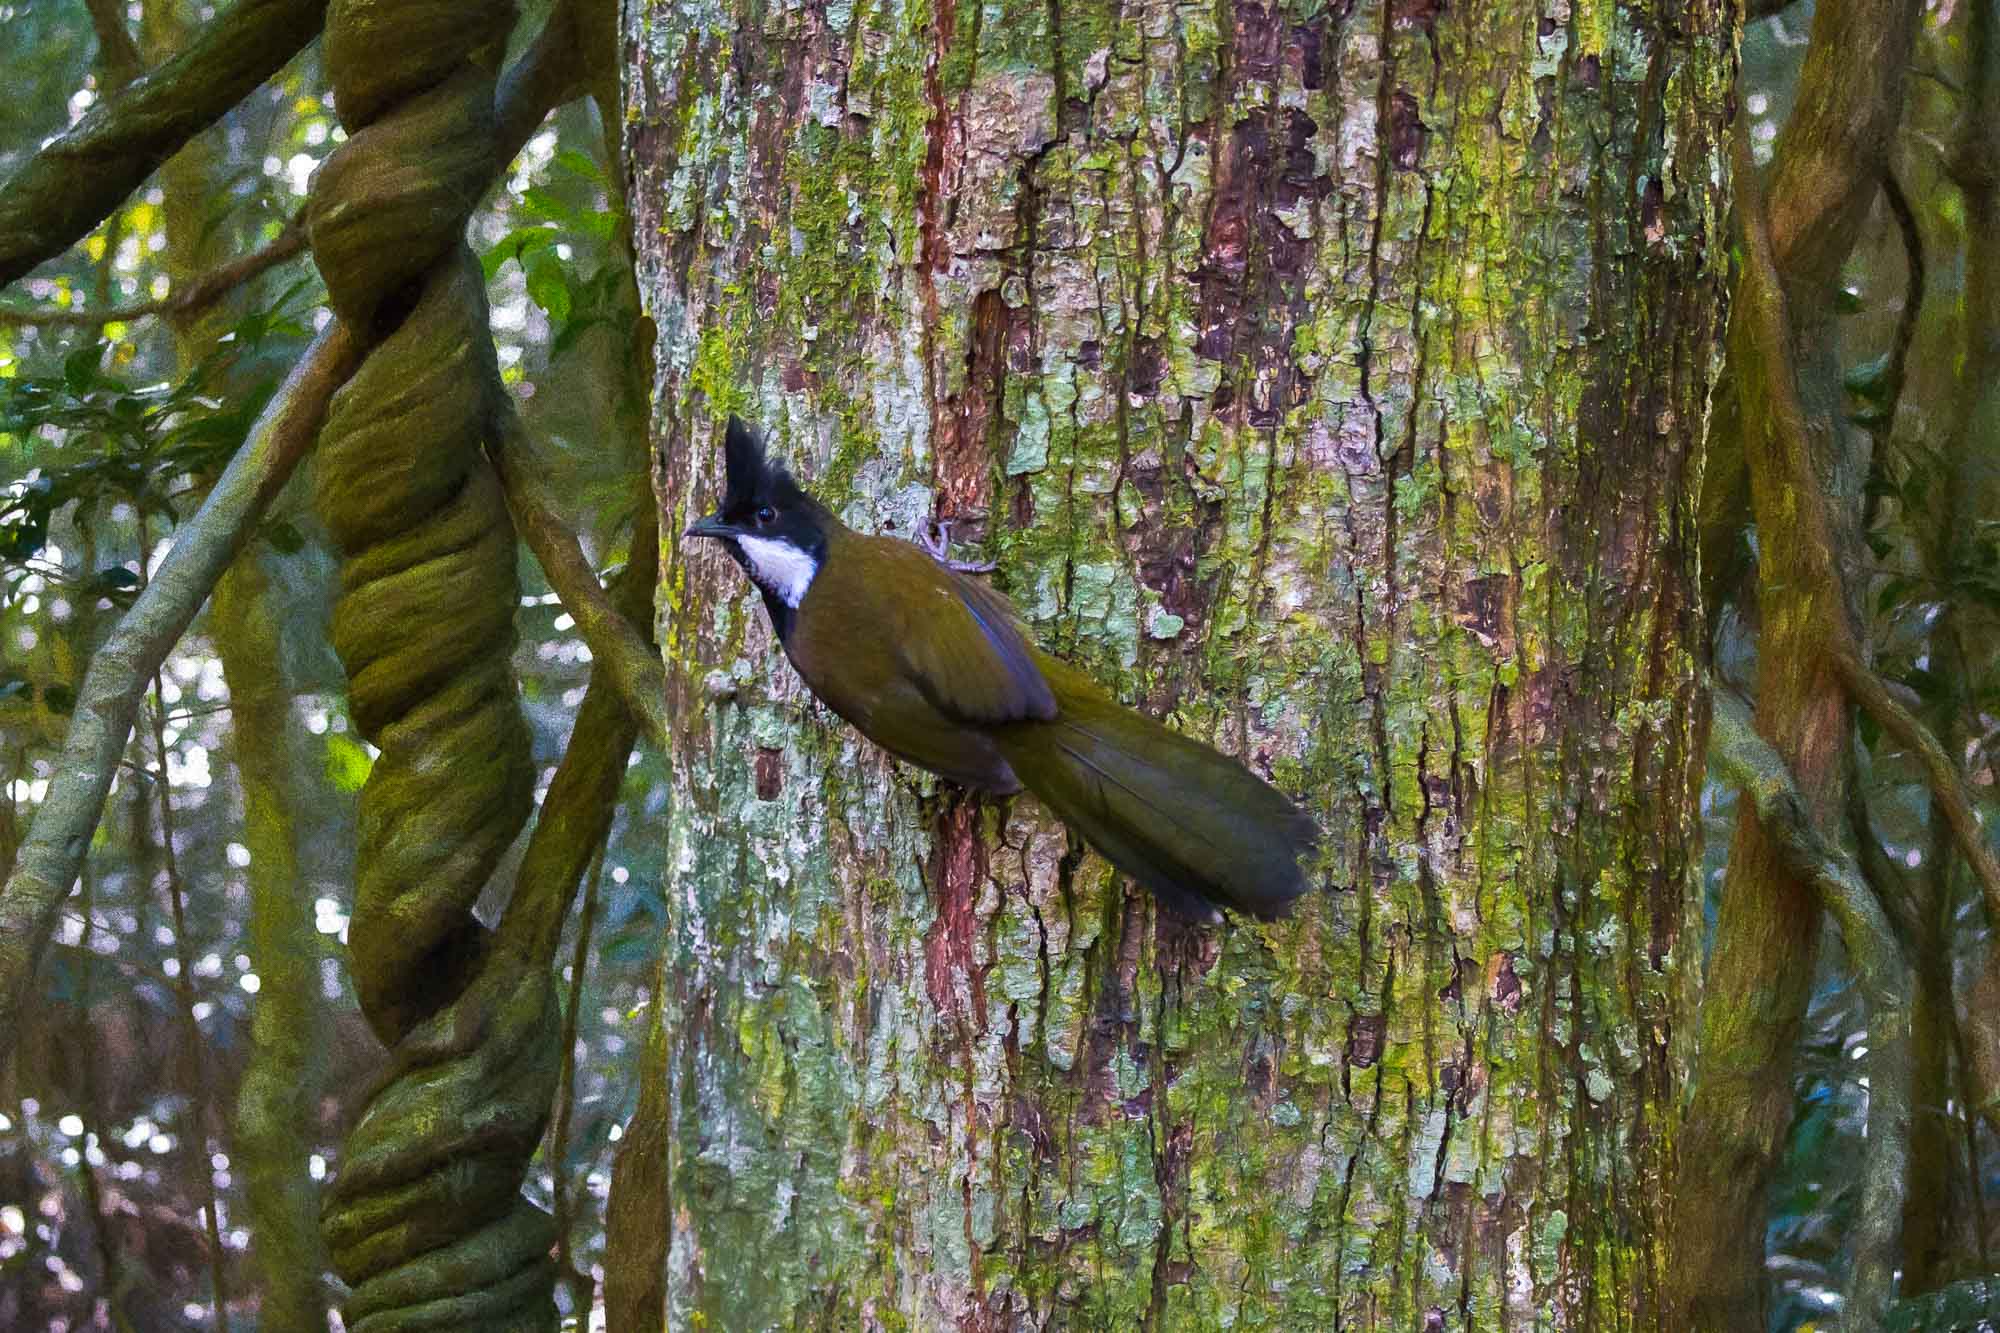
- If you can hear birds, they can hear you and will come and inspect you if you sit quietly.
- A camera, wide-angle and close-up lens, flash and medium telephoto lens are great tools. I always take a tripod and cable release especially for the habitat images including waterfalls.


Tripod Tips
Tripods provide great stability for extended shoots and enable you to move back and assess a scene before shooting from several angles without having to reset or worry about shutter speed. Using tripods might seem like a no-brainer, but in my workshops, tripods are the accessory that brings many amateur photographers unstuck. Using a tripod allows you to:
- Choose any combination of ISO, aperture or shutter speed to suit the artistic outcome you’re after.
- Use very slow shutter speeds without worrying about image quality.
- Focus on composition and remain fixed on your subject for long periods of time.
- Create accurate stitched photographs.
- Perform focus-stacking.
- Create HDR photographs that are perfectly aligned.
- Stand back, look around and consider the approach you’re taking as much as you want without having to reset.
- Shoot pin-sharp images using a cable release with the mirror up.
- Shoot stable video and time-lapse sequences.
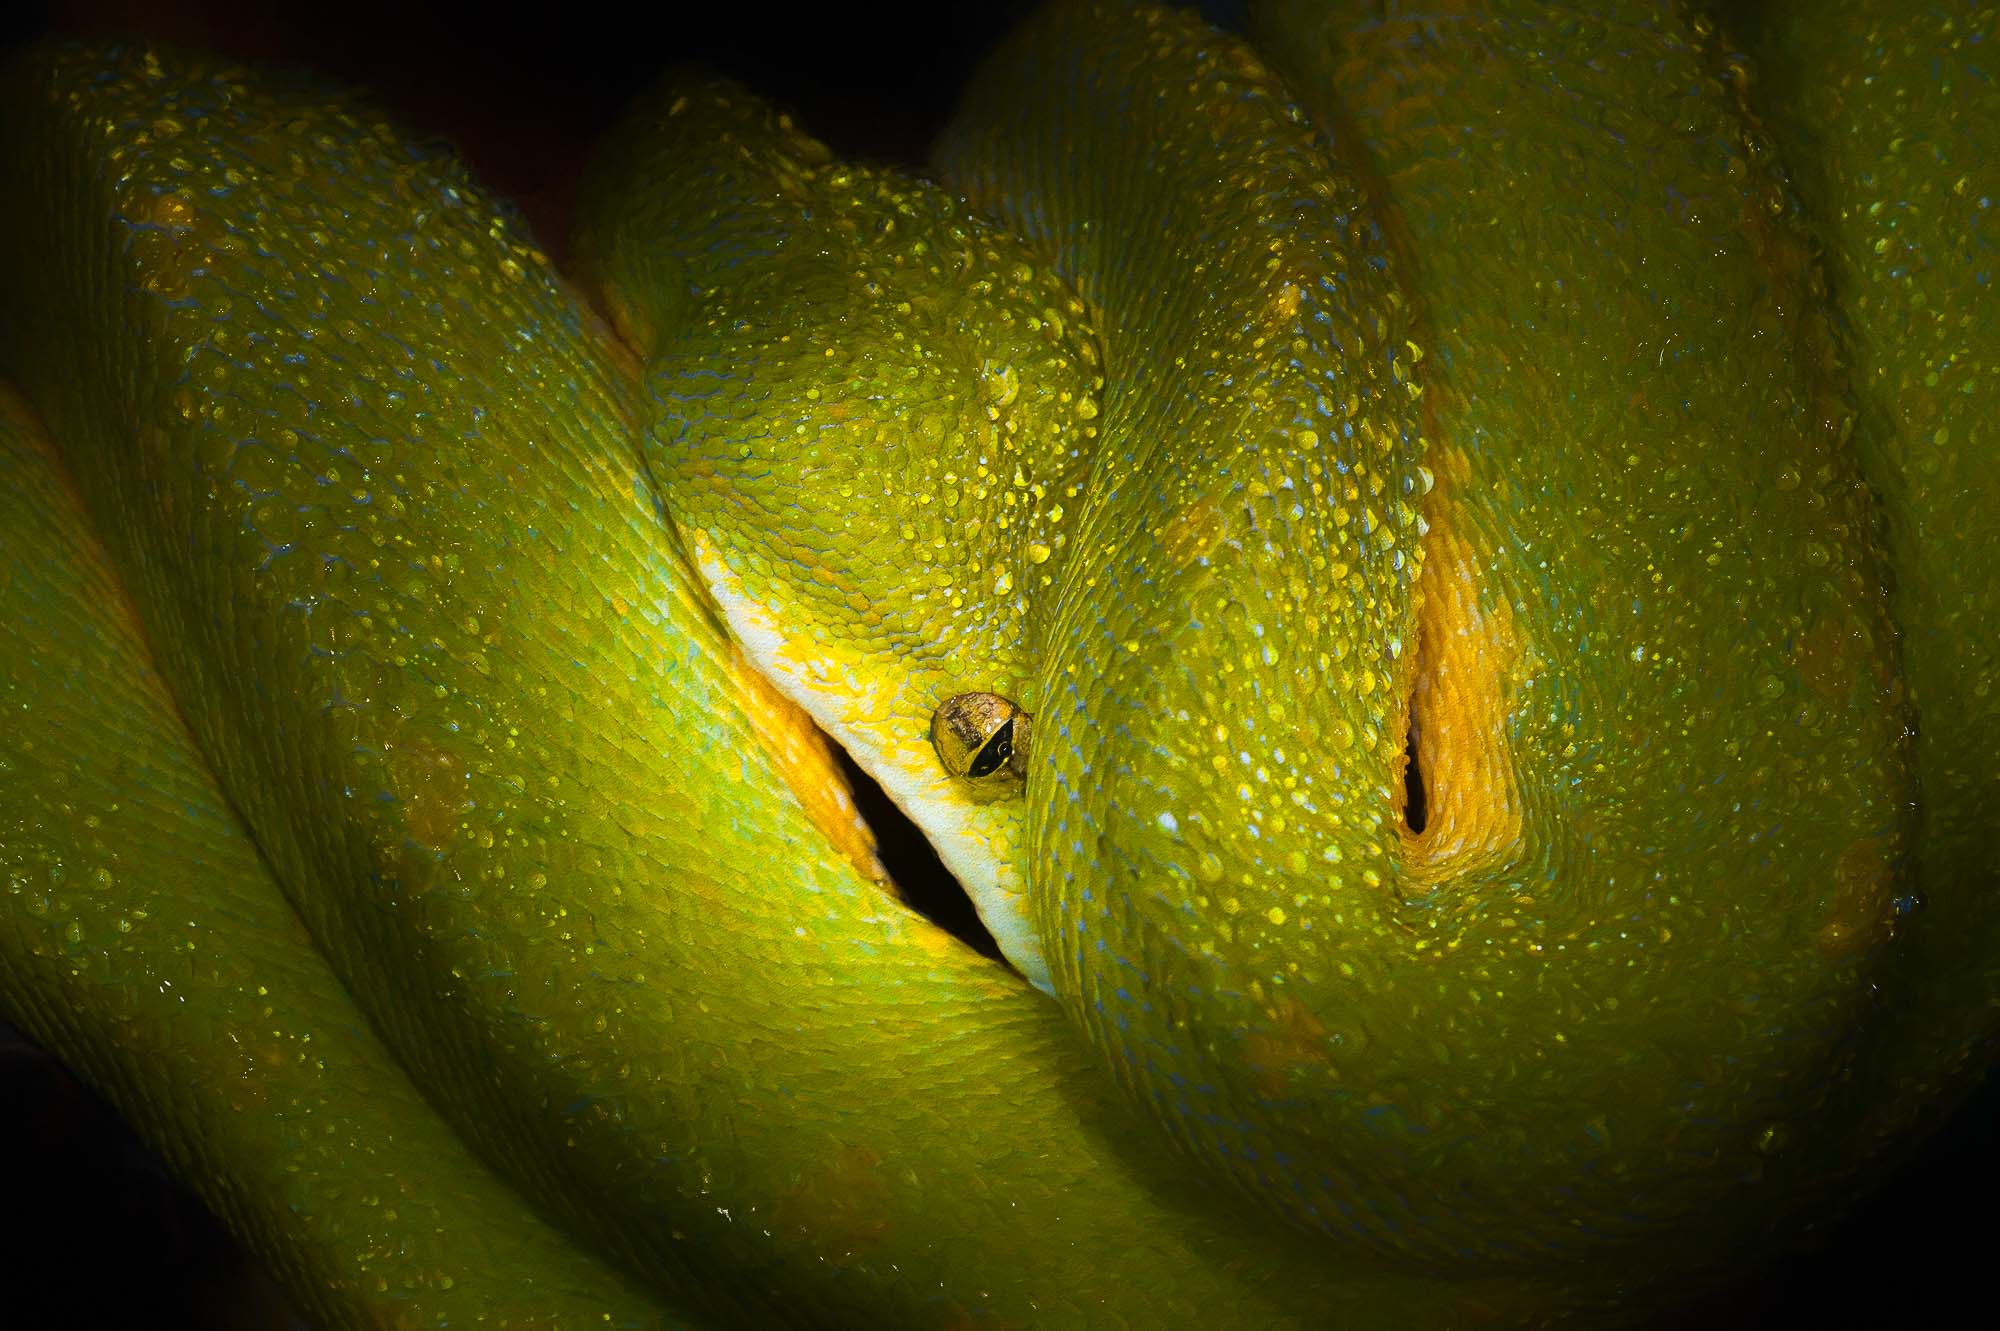
- When shooting extreme close-ups in dark conditions a tripod is essential – see below.


FOREST TYPES
Australia is blessed with some of the most pristine forest habitats in the world, including the World-Heritage-listed Central Eastern Rainforest Reserves and the Tasmanian Wilderness. The vegetation map above shows the distribution of Australian forest habitats. The photographic techniques for working in all these forest types is much the same, all challenge with low light situations. Nonetheless, each will have flora and fauna that may well be specific to the type of forest; the further north the higher the diversity.
Rainforest Fine Art Photography Photo Gallery
Click & Scroll